


I think this may be helpful since I have seen many questions about HID's on HD's. I just bought a 2010 Elantra SE after owning and modding Focus's for 7 years so this is my first Elantra DIY. I wanted to mod the headlight housing as little as possible for warranty sake. After reading up on the H11b issues I expected to have to do alot more cutting and damaging.
This way the only modding required is the headlight cap on the housing, which I picked up spares on eBay so I can easily revert back to stock.
Tools needed:
- H11 HID kit
- Socket wrench
- Dremel
- 1" Drill bit and drill
- Philips screwdriver
- Electrical tape
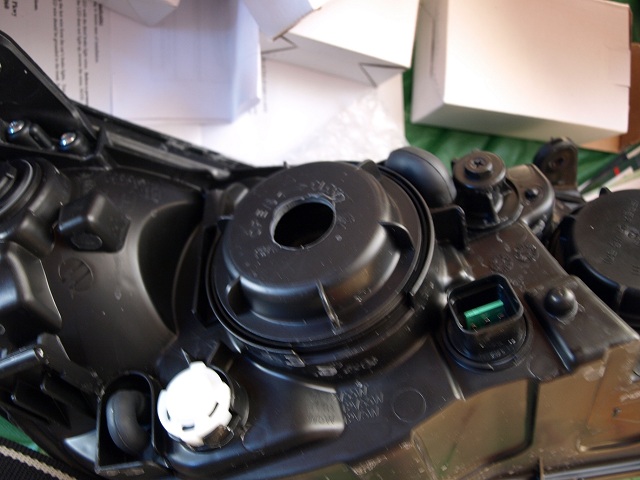
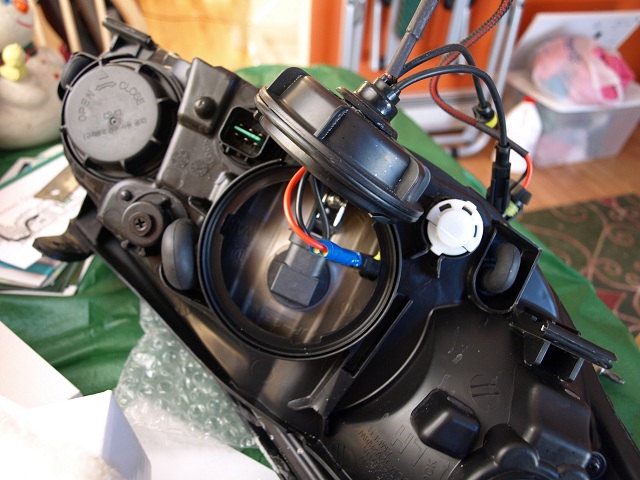
1. I detached the headlamp from the vehicle using the socket and removed the cap. Using a 1" drill bit (or whatever size the interior diameter of your wire grommet is) I drilled a hole in the center of the cap to accept the HID wire grommet. (I used a DDM kit, which has a grommet with a 1" inner diameter)
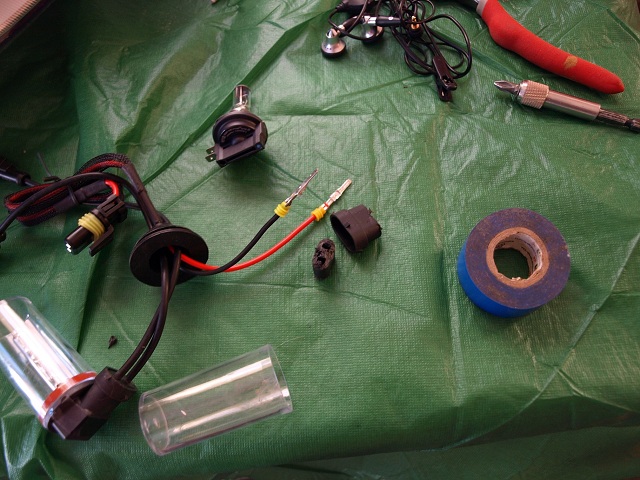
2. Instead of modding the headlight to accept the HID kit, I modded the kit to fit the housing. I took the H11 end and used a Dremel to cut out all the plastic around the two wire leads, leaving just the two metal connectors.
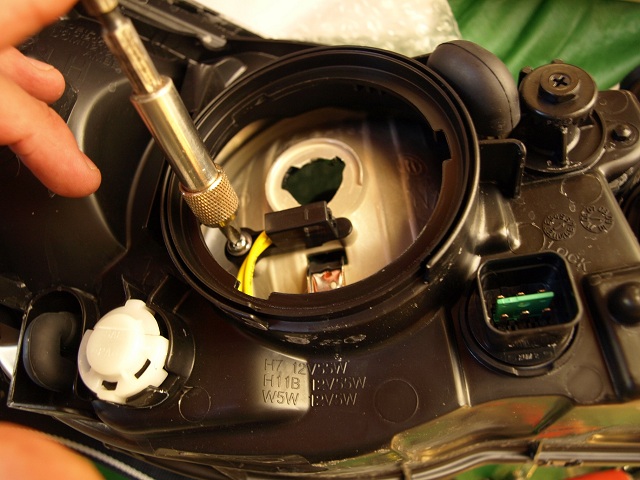
3. The H11B simply twisted into these connectors. To alleviate the problem I just unscrewed the screw holding the connector in to get it out of the way. (Save the screw in a safe place in case of reinstallation of H11b.)

4. Next I took the two wire leads and inserted them into their respective polarities in the existing H11b connector.
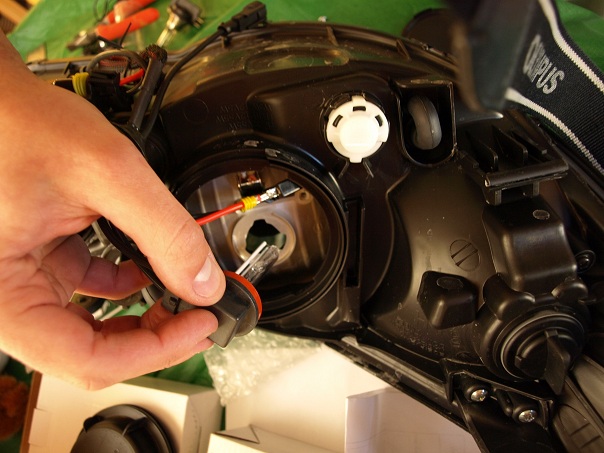
5. You can then simply twist in the new H11 bulb like normal.
6. I wrapped the wires and H11b connector with electrical tape to prevent any shorting out or whatnot. I then simply tucked them into the housing.
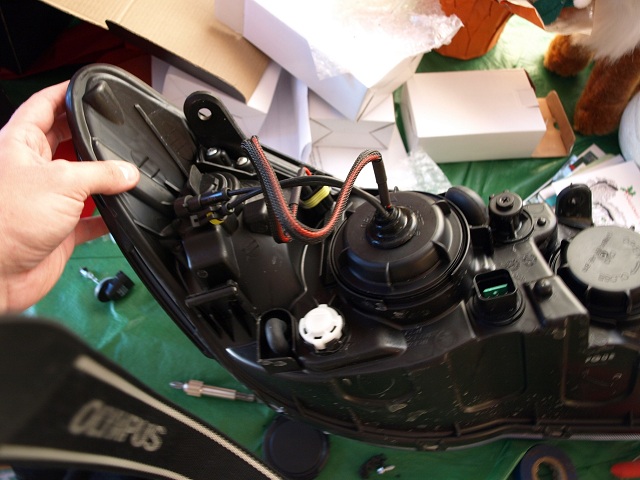
7. Screw the bulb in and there is your finished product. Make sure to store your original bulbs and connector screws in a safe place.
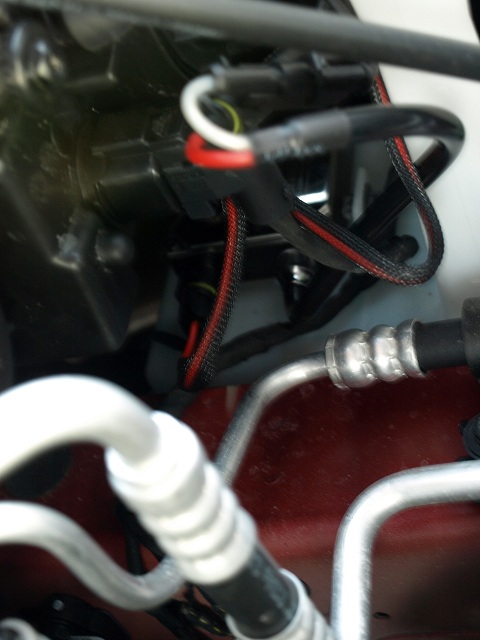
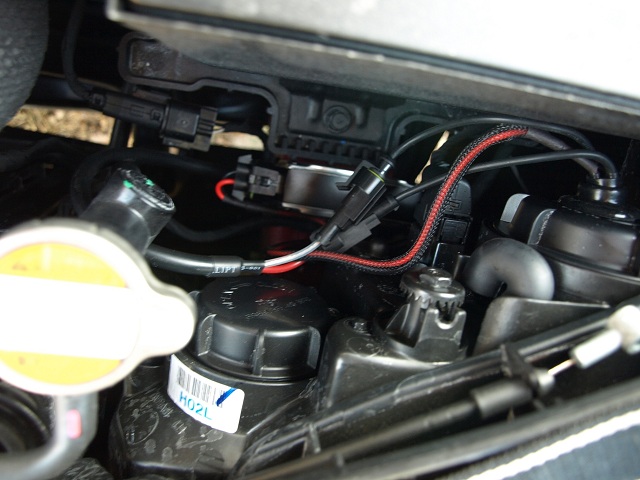
8. I put the passenger ballast right on top of the coolant storage, and the driver side on section of frame in front of the battery.
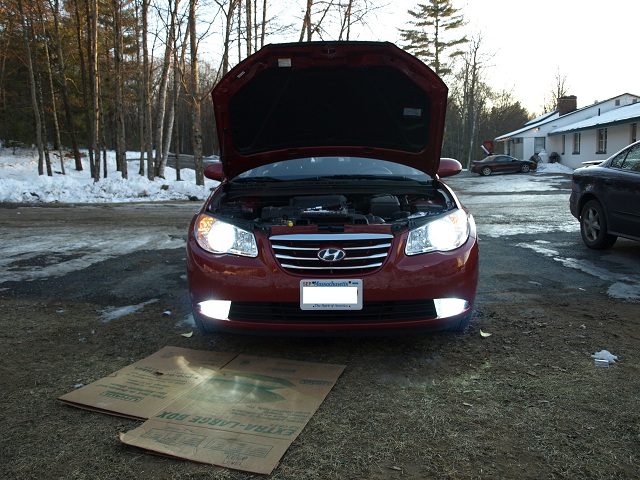
The end result with 6000k HID Headlamps and Fogs.
As you can see above, I also did the Fogs, which are completely plug and play with an 880 HID kit, no modding required.


