LED Footwell lighting install
by a_v
I wanted to be able to change bulbs at will, and I always try to make my mods reversable. Thanks to the club for the ETACS pinout info - was spot on. For those interested, don't reverse the pins for driver/pasenger for right-drive cars; eg "driver's door" as labelled on the ETACS pinout is driver's for left and right-drive cars.
This little harness connects to the ETACS. The metal pins wedge into the back of the connector securely, meaning no wire splicing! I labelled the red connectors with "D" and "P". I love these little connectors; you can get them at Jaycar.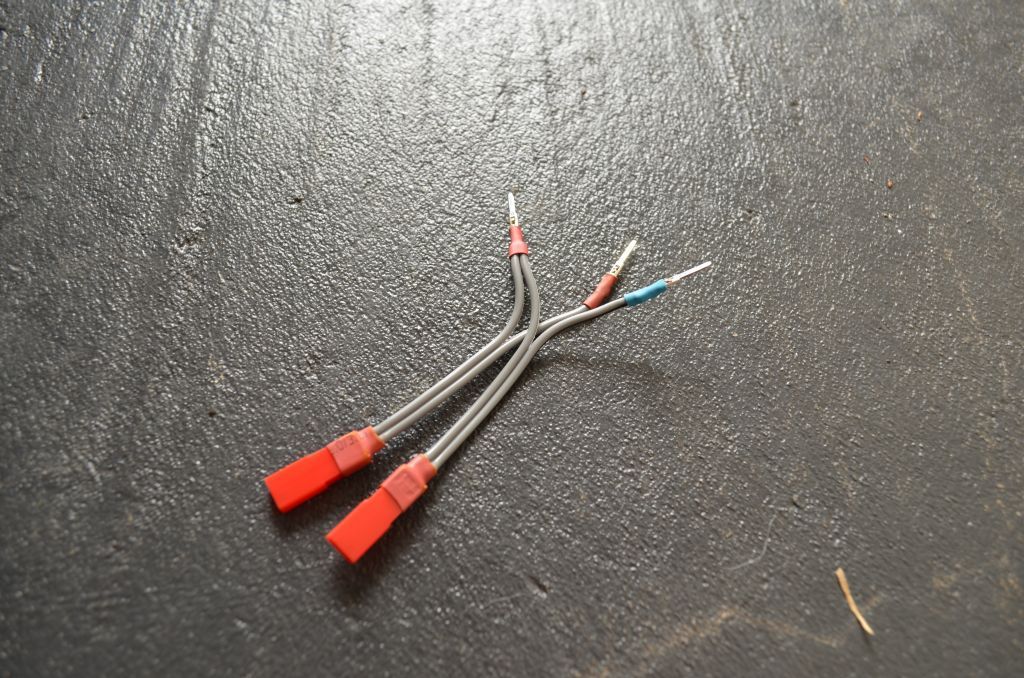
Here it is plugged in. Cable ties make everything pro.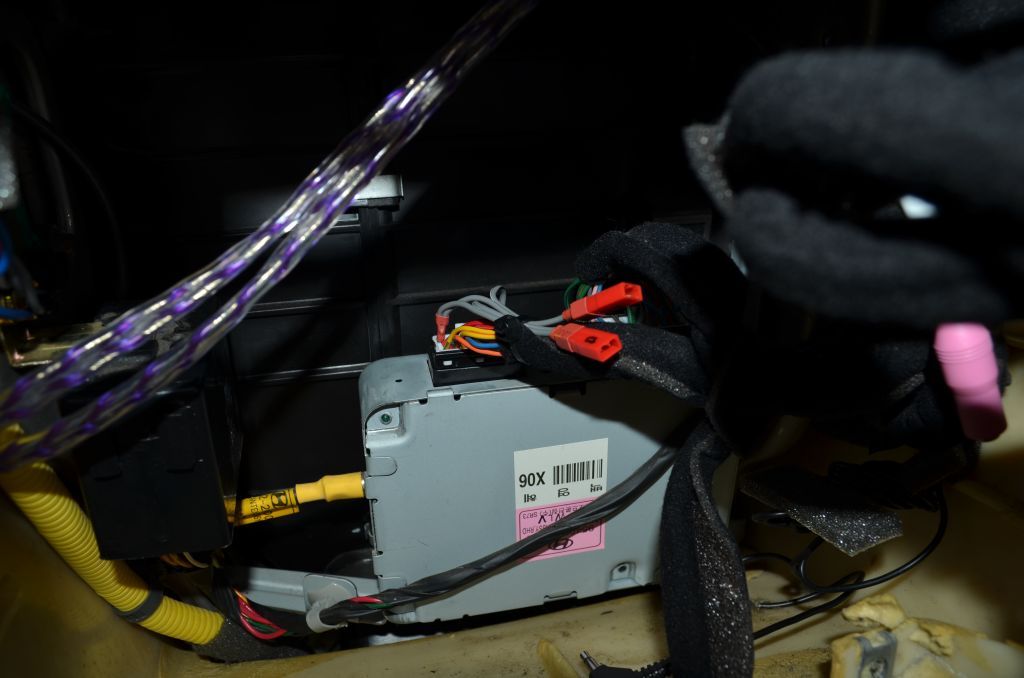
A length of speaker wire plugs into the harness and goes to the lights. Testing the circuit at every step.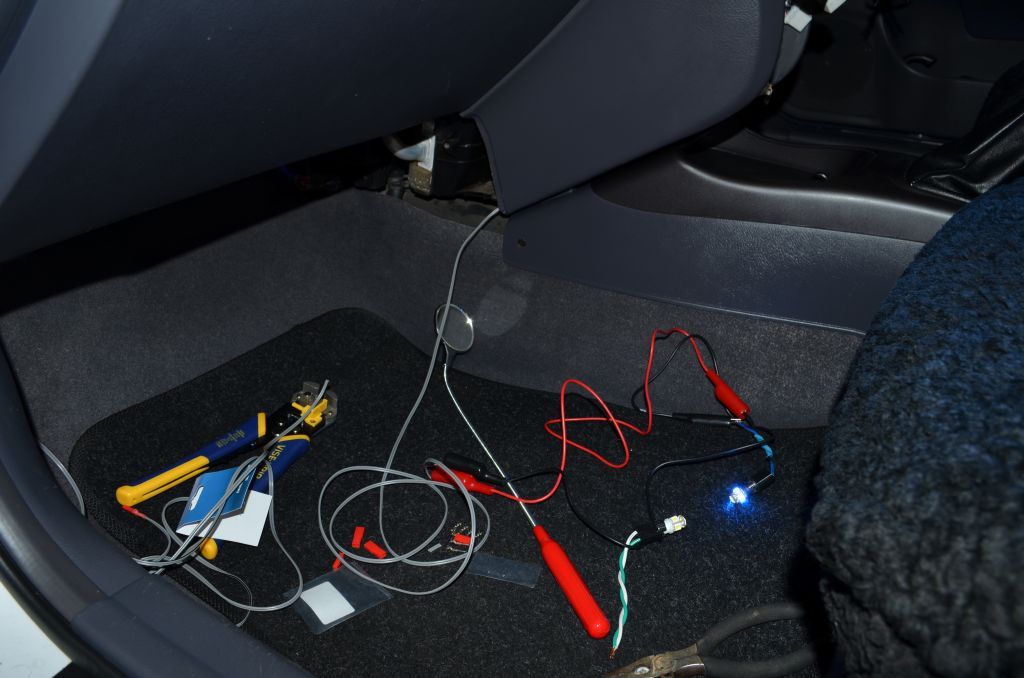
A 3-position switch lets me set the lights to on, off or to turn on/off with the respective door opening/closing. The switch mounts to a metal bracket picked up from Bunnings bent to shape.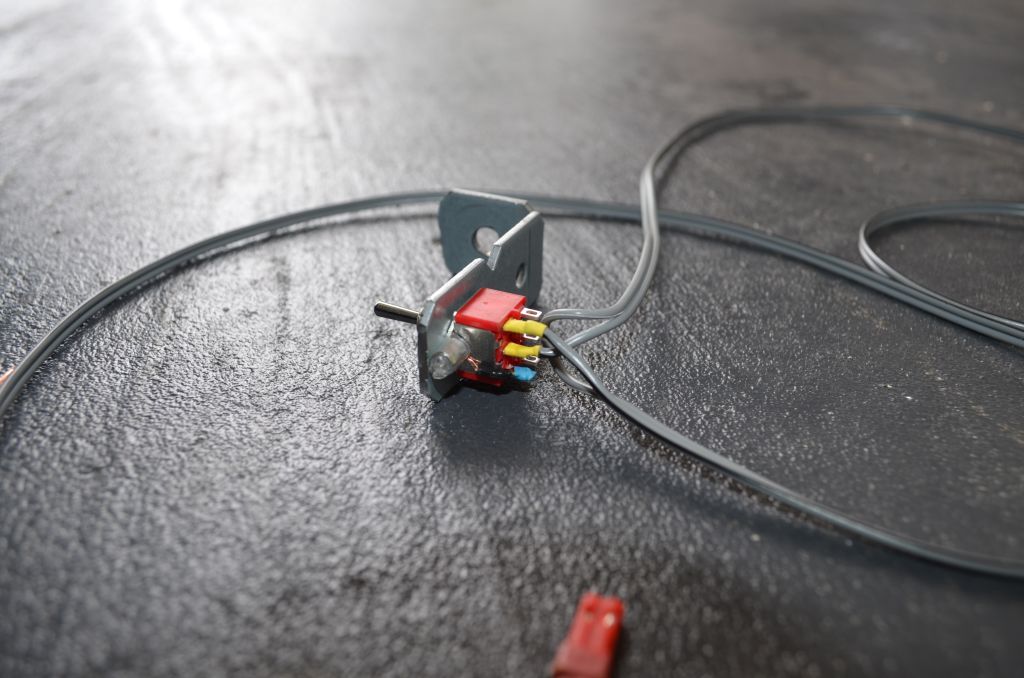
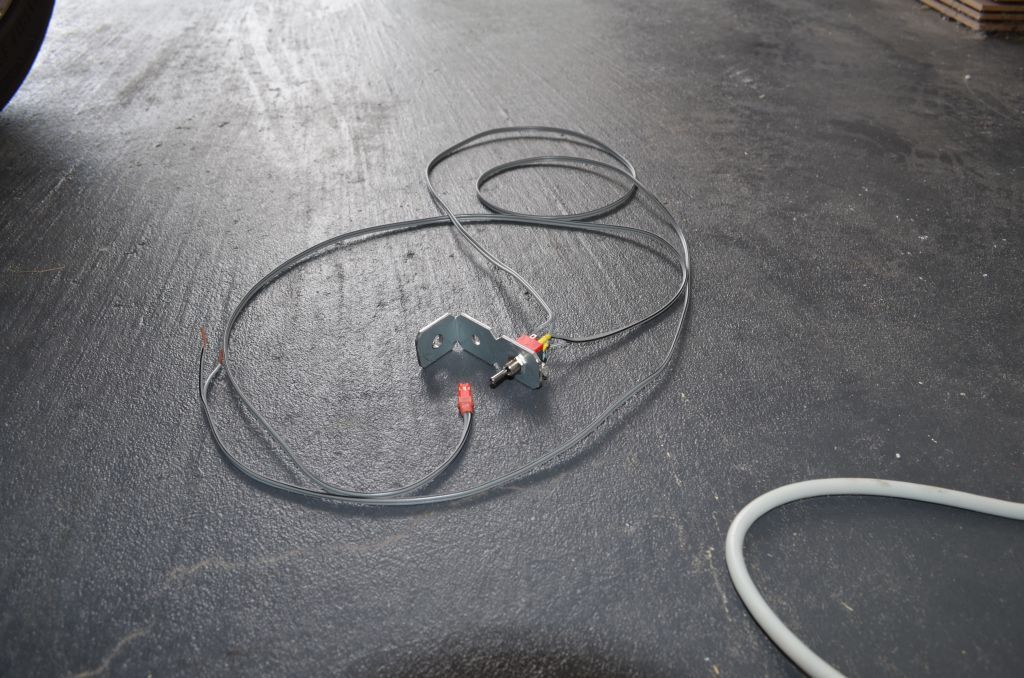
The metal bracket mounts to an existing bolt threaded into the metal body of the car, conveniently giving me the ground for the switch's On position.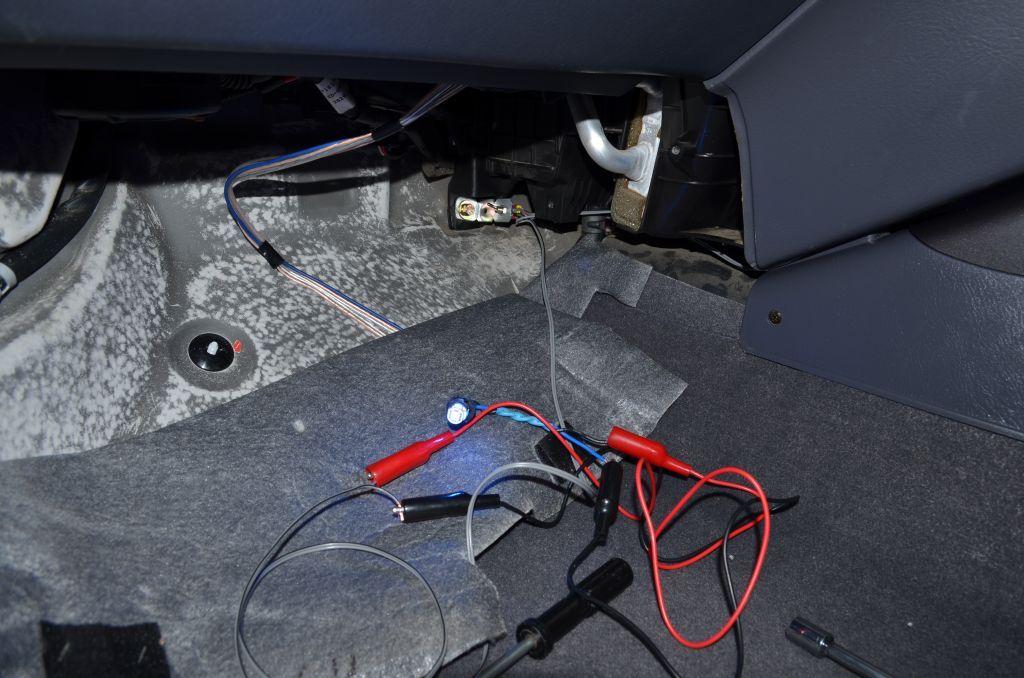
Completed light setup with switch and 2 194 bulb holders, ready to be mounted.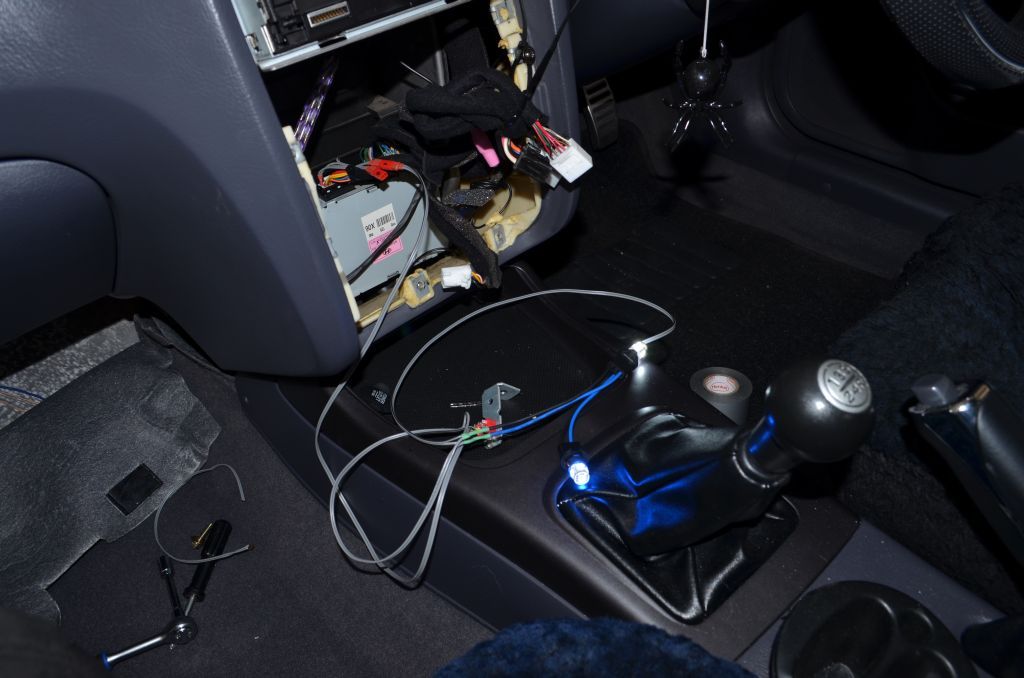
One of the passenger's side lights, showing the switch. Hot-glued into place, and wiring run under the carpet.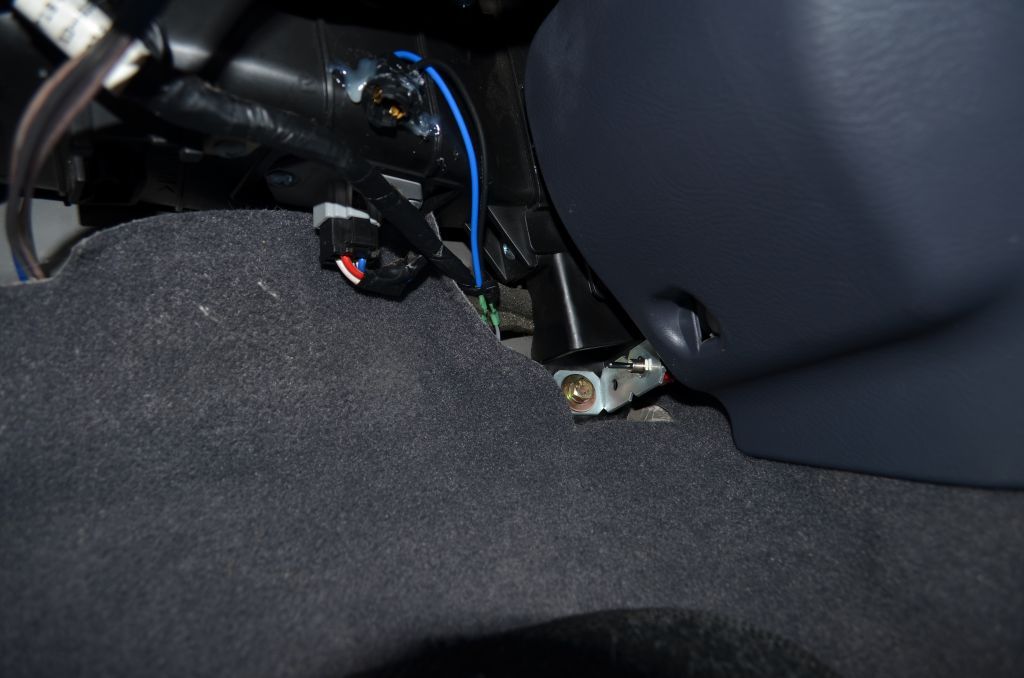
Switch on the driver's side mounted behind the foot rest. I don't know why my installer ran the amp power wire around the way he did, but it gave a good place to cable-tie some of my wiring out of the way.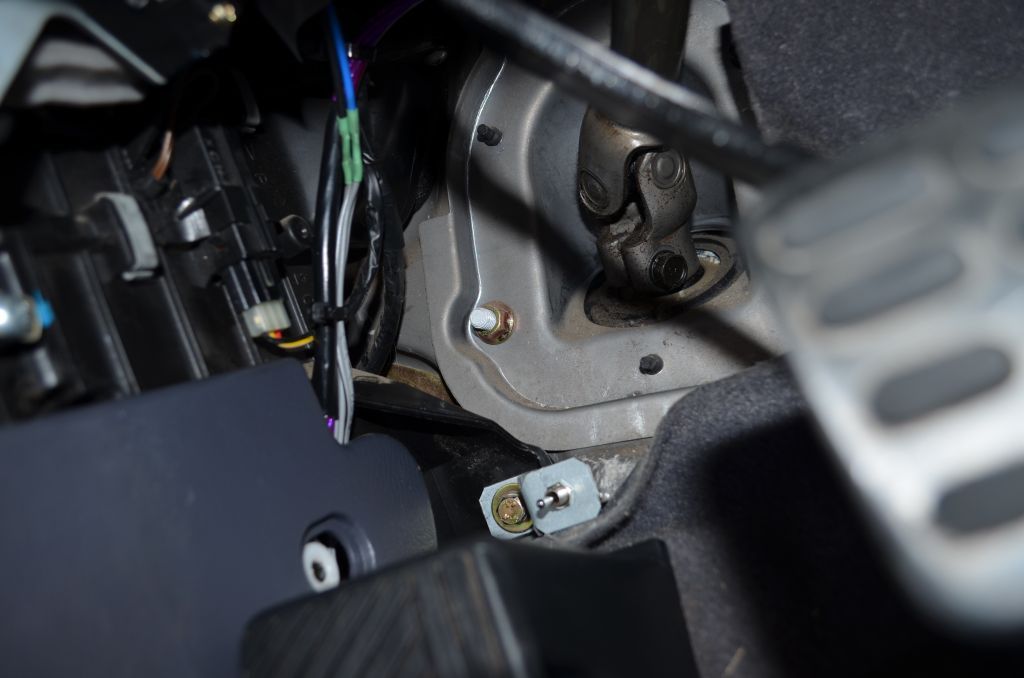
One of the driver's side bulb holders. The tape was just to keep it in place while the hot glue set, not sure why I left it there.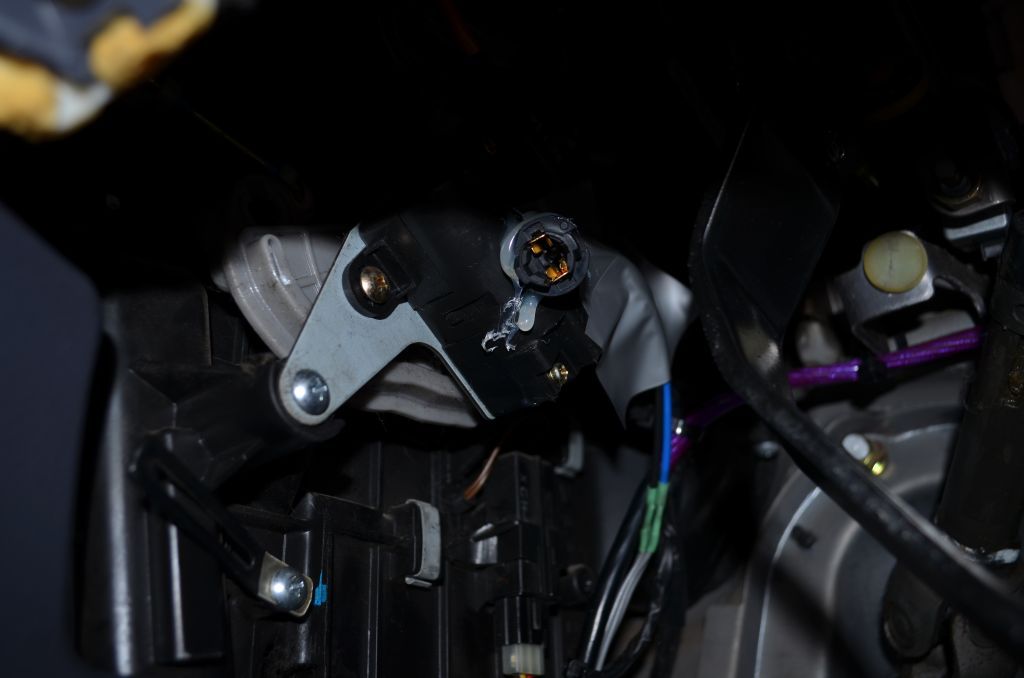
See the final result in my garage!
ibWiki copyright © CJVJ
Invision Power Board (http://www.invisionboard.com)
© Invision Power Services (http://www.invisionpower.com)