Ok first off;
Difficulty: 3/10
The only reason I classify this a 3 out of 10 is because there is a bit of confined wiring needed, otherwise it'd be a 2.
Tools Needed:
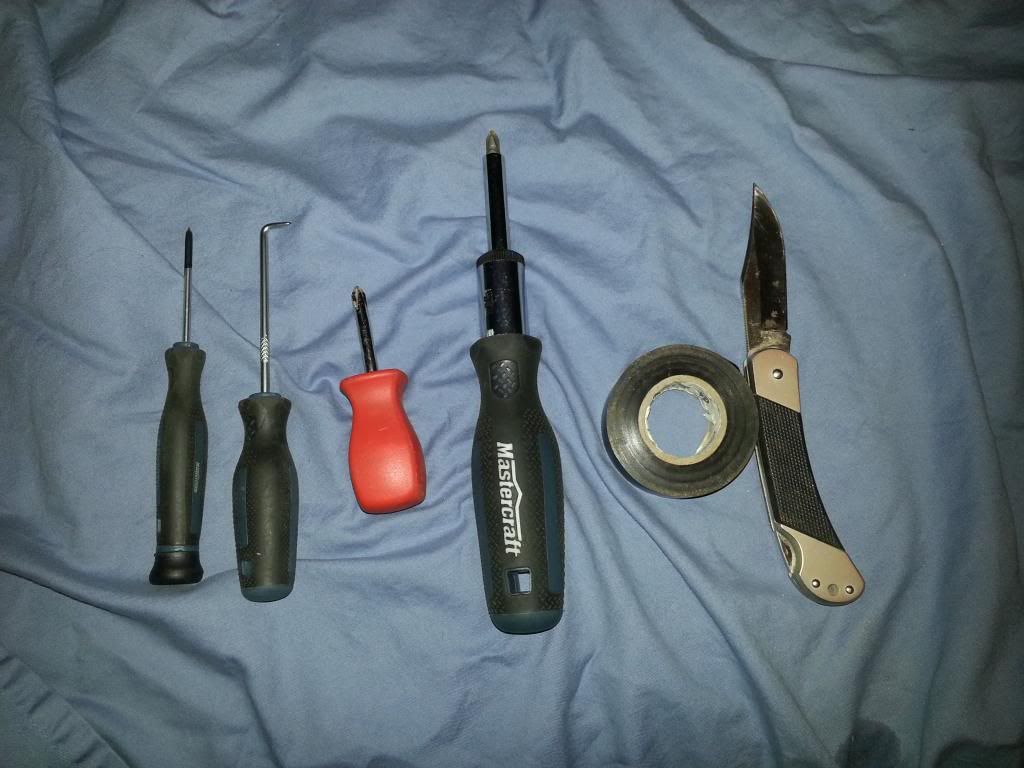
- #2 Philips Head Screwdriver
- Stubby #2 Philips Head Screwdriver
- #1 Philips Head Screwdriver
- Knife
- Electrical Tape
And I used the L-Pick for prying when needed, but it's not necessary, the knife works as well
Ok Now that's out of the way, I want to tell everyone to disconnect the battery, and pull the airbag fuse just in case. We are going to be working with wires behind the steering wheel, which means that the airbag is right there, which means the airbag wires are right there, which means I don't want to see people with a big powdery face in the ER because they had an airbag blow!!!
Great let's start!
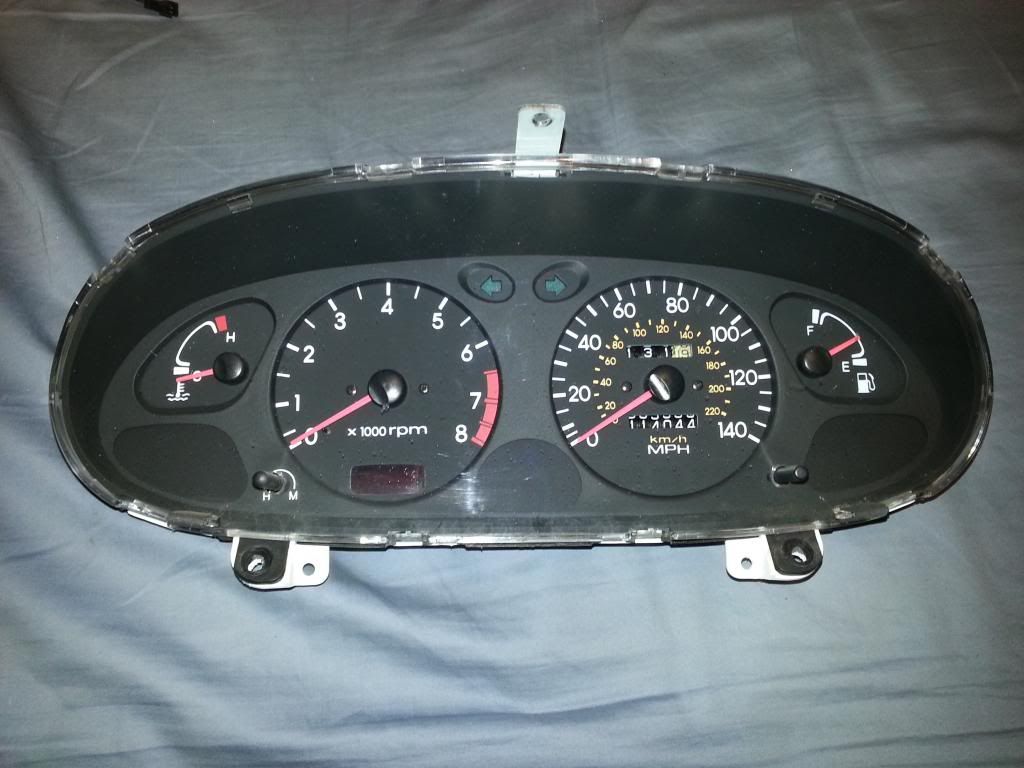
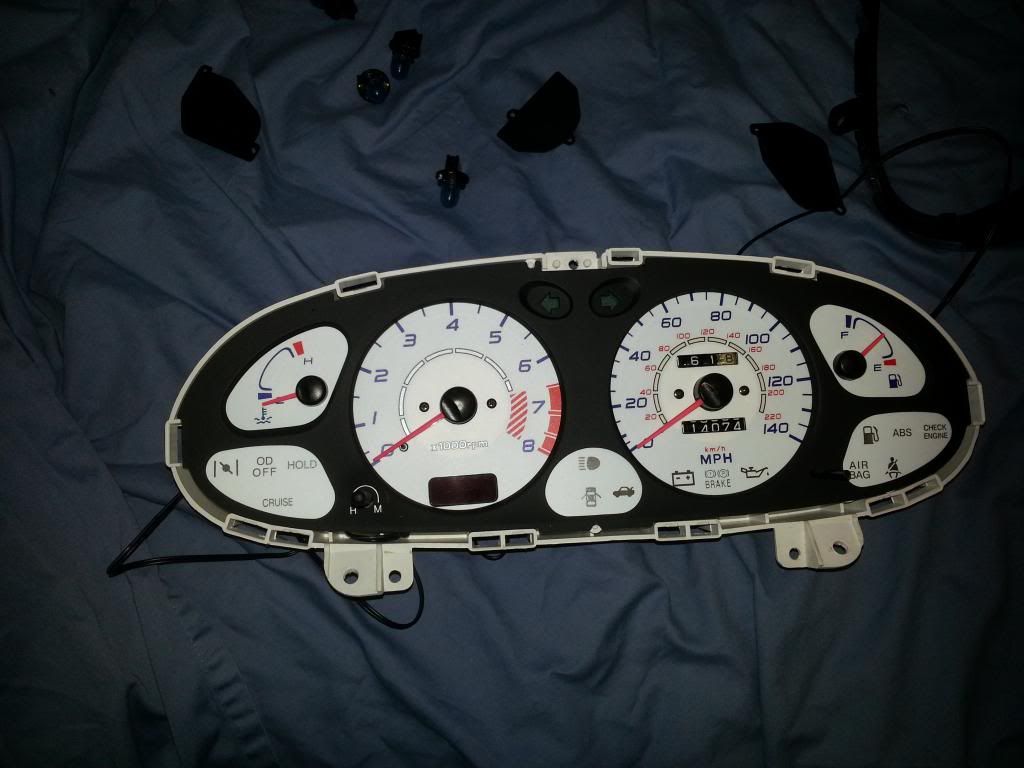
First off, here's what the gauge kit looks like:
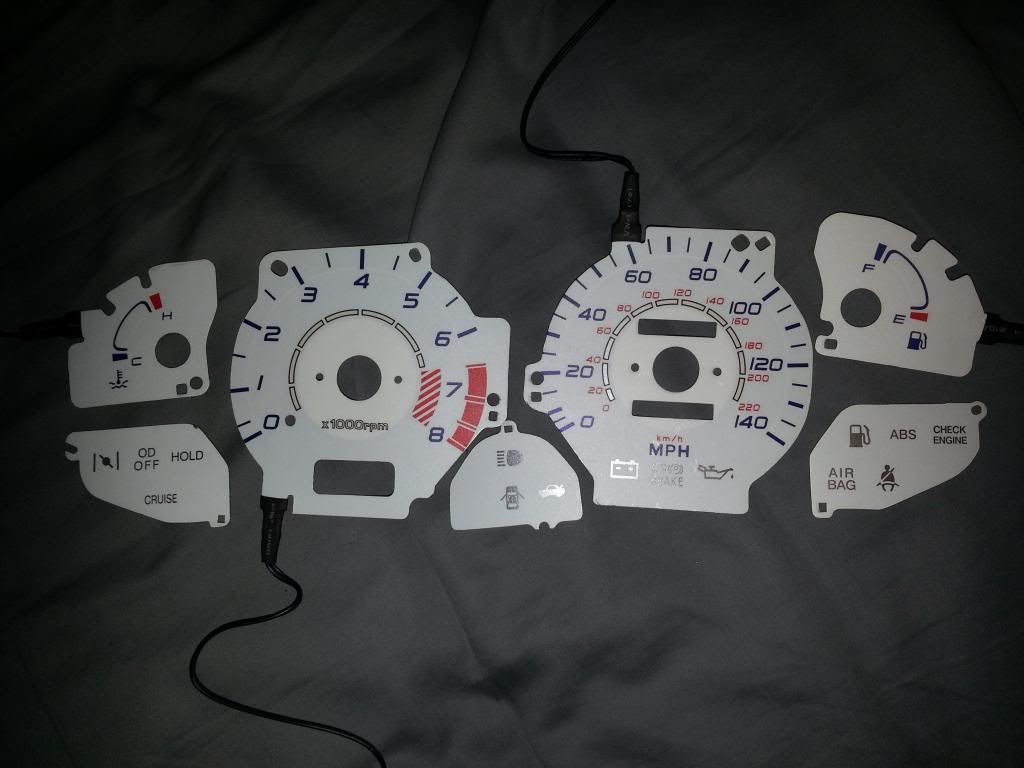
It has power to the speedometer, tachometer, fuel gauge, and temperature gauge, the other ones use the current lights to light it up, which means they will be bright white, so I would suggest putting in some coloured LEDs or incandescent lights while you have the instrument cluster out.
Remove the Instrument Cluster
To remove the instrument cluster, you must first remove the bezel in front of it. You do this by removing four screws:
1. 2 screws are located in the top of the bezel:
2. 2 screws are hidden behind a rubber flap. You will need to lower the steering wheel as low as it will go:
3. You should just be able to pull on the bezel and it should slide out!
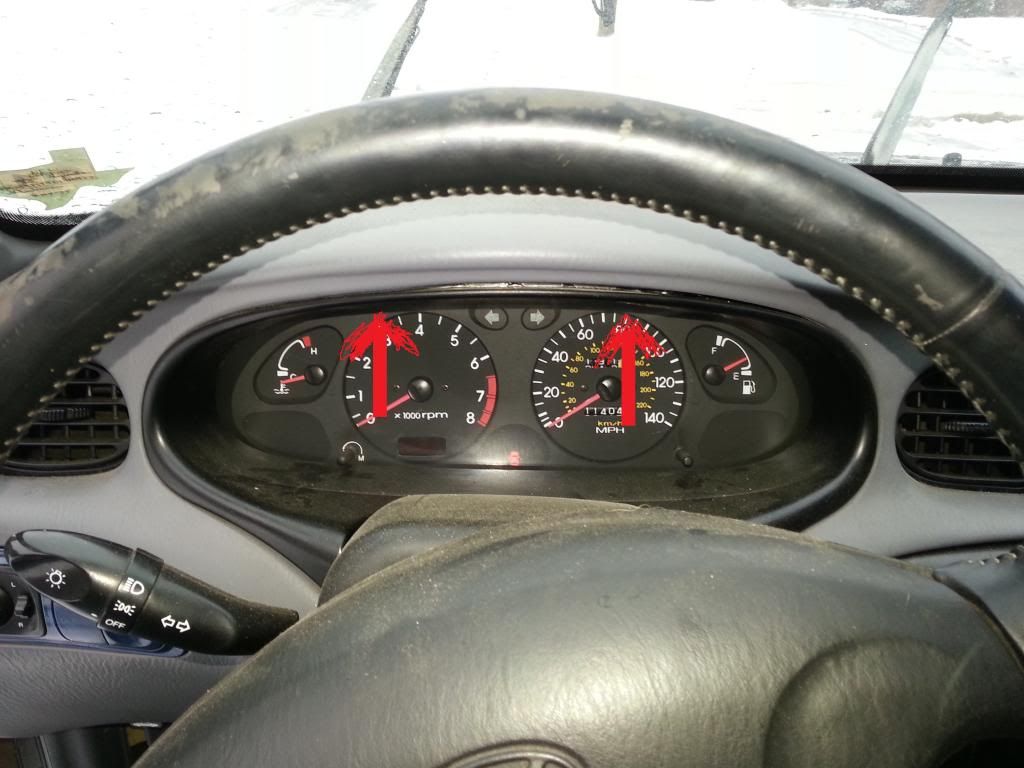
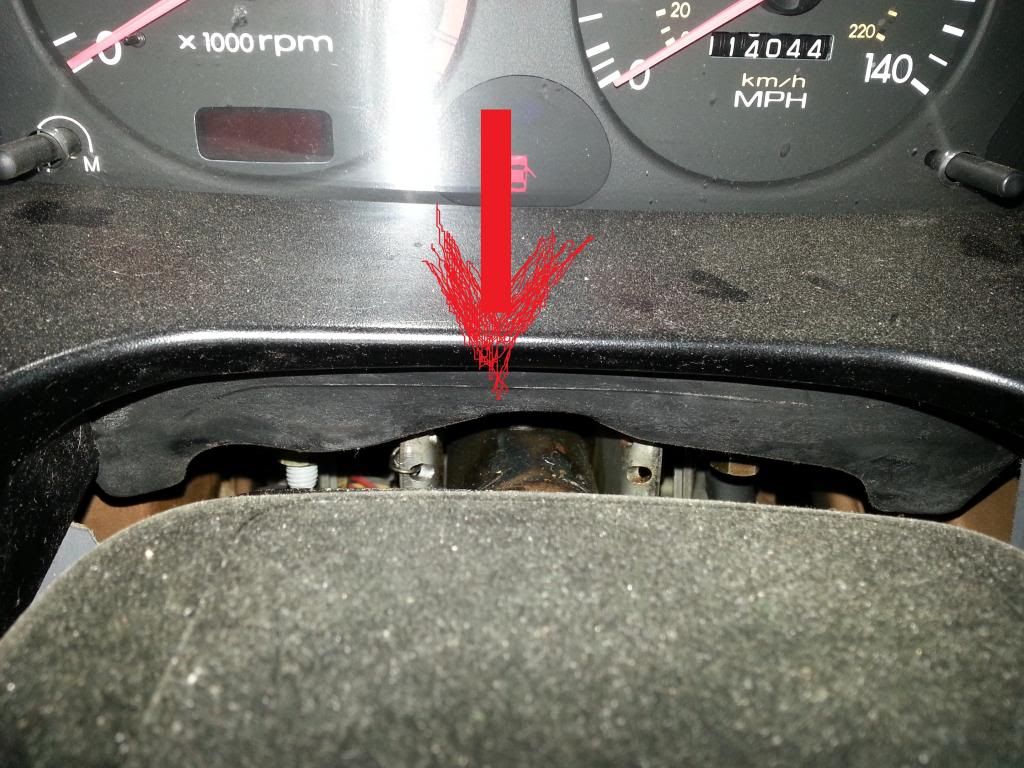
4. Next there are 3 screws holding in the instrument cluster, one up top, and two below, you can see all 3 screws in this image:
5. Gently pull the cluster out, it might be a bit difficult, and you may need to use your knife, or pry tool to help, but there are also 2 tabs you can pull on, but I wouldn't pull too hard, they are coated in some Styrofoam material that seems to peel off easily, you can also see the clips in the previous picture!
6. At this point, lean the instrument cluster to the left, so you can lean towards the middle of the car, and view behind it. You will see 3 wires harnesses that need to be disconnected, they're fairly easy to reach, but you may have to unplug them blind, it's kinda hard to unclip, and see what you're doing in such a confined space
Clip 1:
Clip 2 & 3:
7. After the 3 clips are disconnected you should be able to wiggle the instrument cluster out, if you can't you can remove the steering column cover, but I didn't have to, so I didn't get a picture of how to, but it's fairly easy.
Great! You should have the instrument cluster in your hands now! Bring it to your garage, or kitchen table, or in my case, my bed! Anywhere you're comfortable to work really.
Perfect time to grab some Armour All, or cleaning solution to clean the clear cover (I'd wait till after though
 )
)Ok time to take apart the cluster itself!
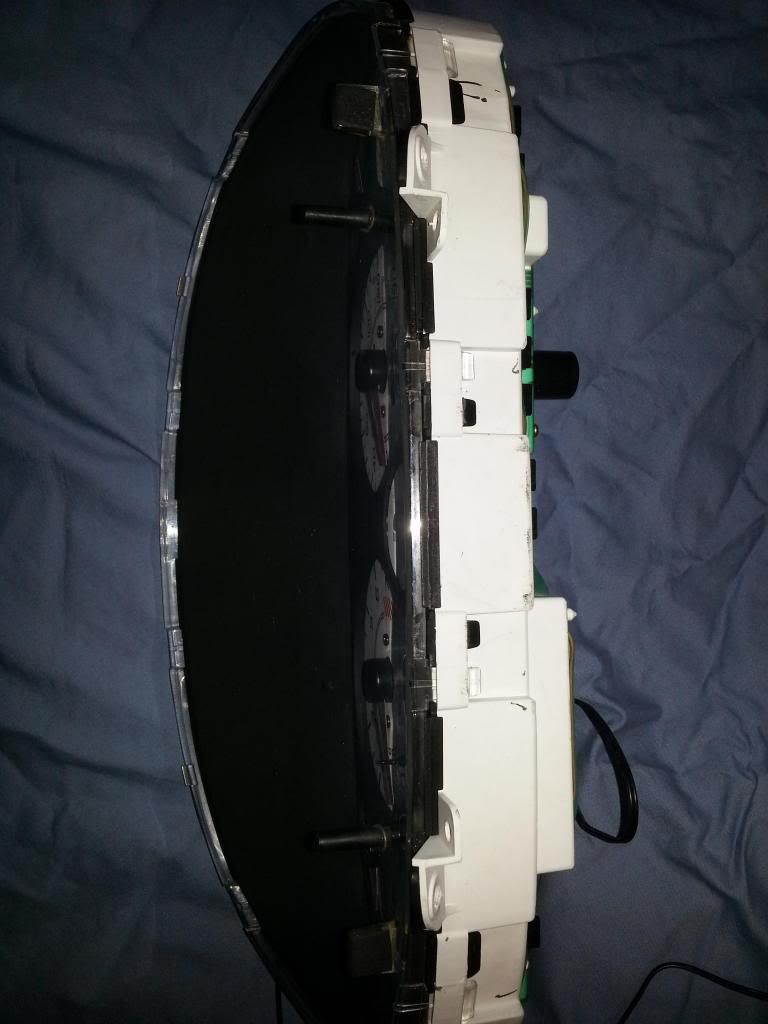
1. First off you need to remove the metal tab on the top, 2 screws different sizes of course:

2. Next there are 9 black clips that need to be pushed in while pulling on the white part. I used the 3 clips in the previous photo to get started, started on the left side, pushed in the clip while holding tension in the opposite direction. Then pushed the middle clip, then the 3rd clip, then the rest just came apart! Pretty easy! I could use my fingers to push these clips, but if you can't get it, you could use a flat head screwdriver, or your knife
3. Now the cover should be off! Next there is also a black face plate that needs to be removed, you can do this just by pulling up on the face plate.
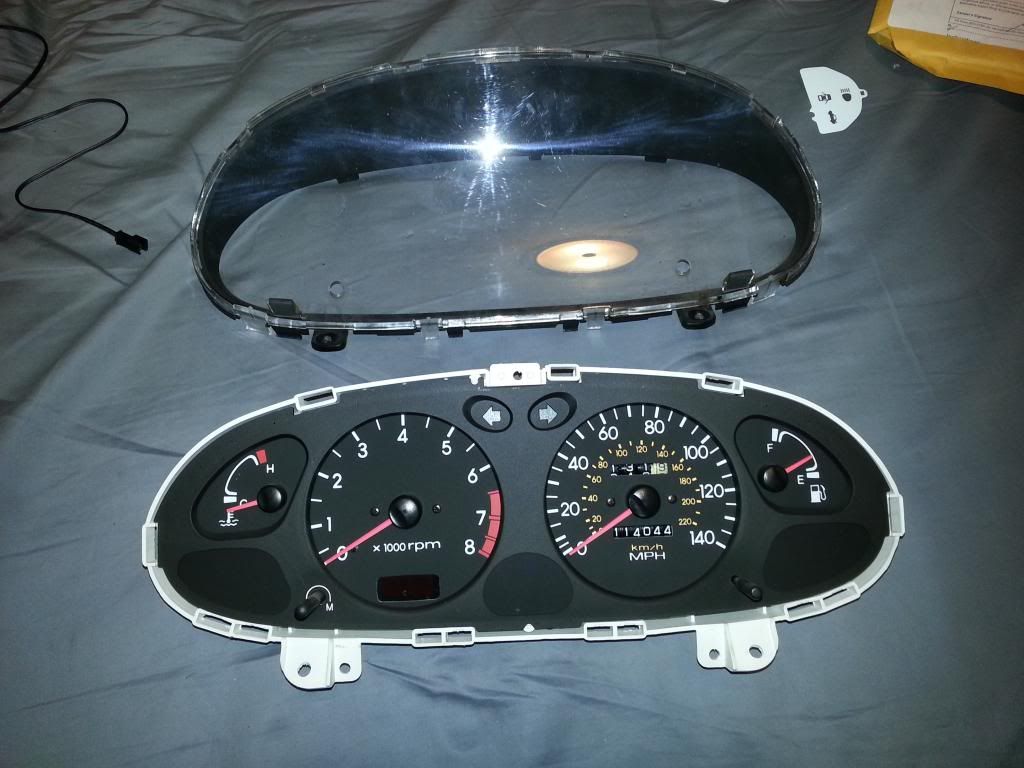
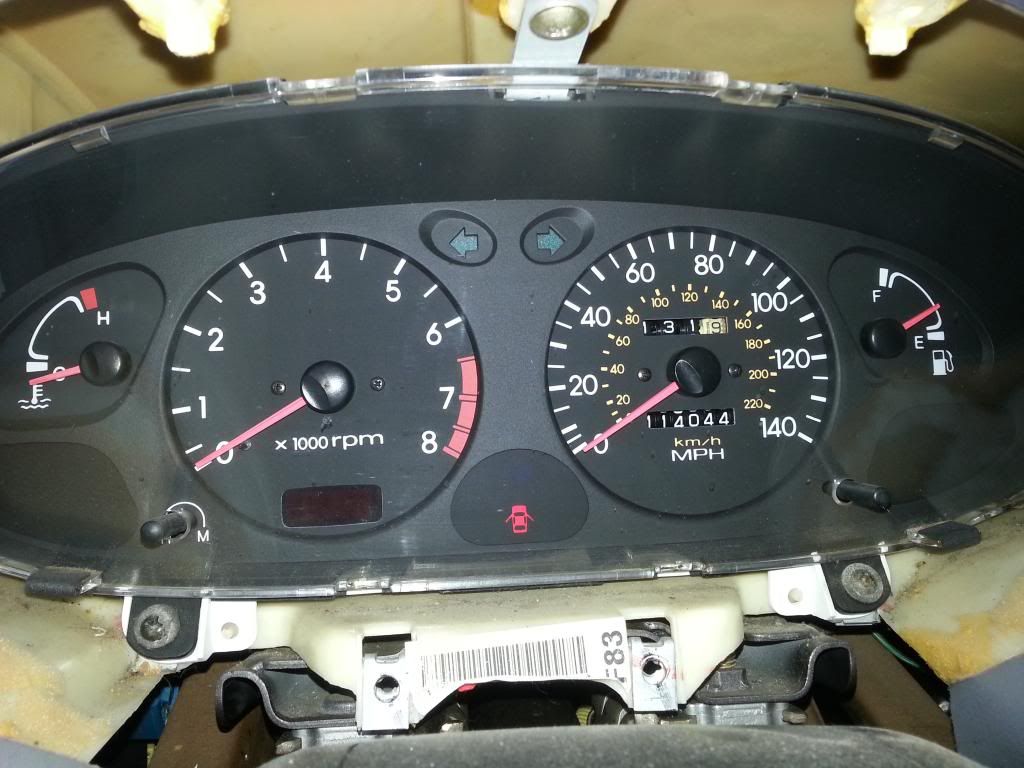
This is what you should be left with:
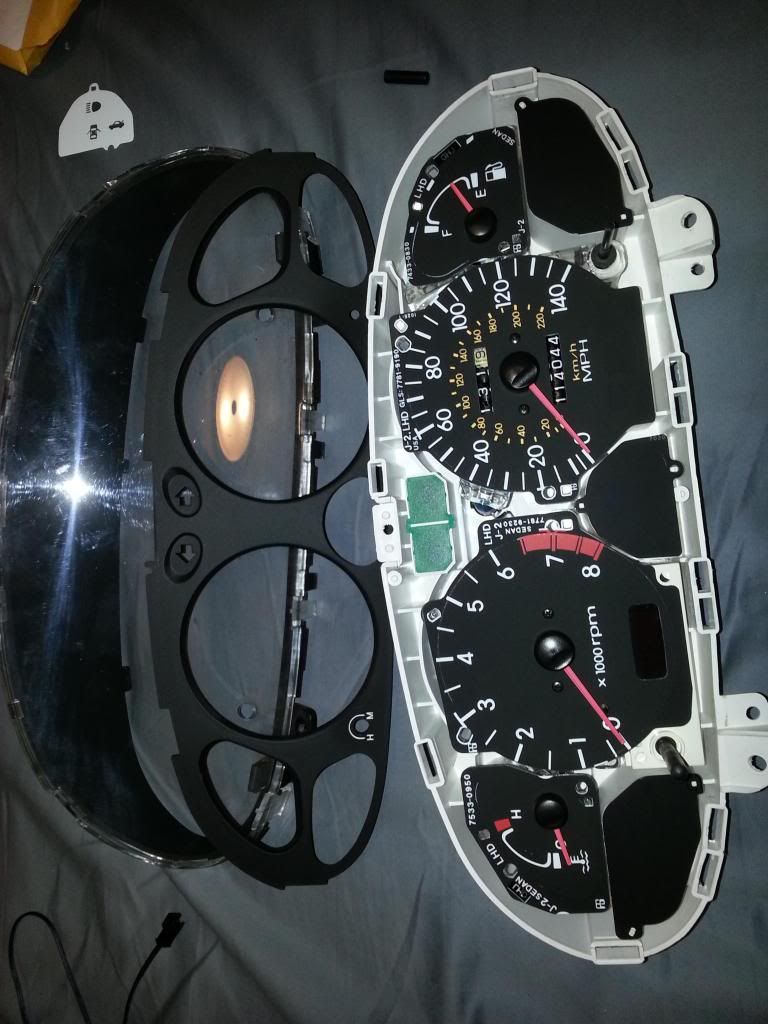
4. Ok now the new gauges just slide on over the old ones, the only ones that doesn't work for are the 3 bottom gauges (the check engine light gauge, the OD Off gauge, and the High Beam gauge) You will need to remove these gauges by pulling on them, then replace them with the new ones. Also for the tachometer, and the speedometer, there are 2 screws that need to be removed before installing the new gauges, they're right on the gauges faces, and pretty hard to miss, but you will be placing them back, so try not to lose them

5. For the gauges with needles, I found that even if you move the needle it will reset itself, that includes the gas needle, but it'll need to be reconnected to the car before it does.
6. You will need to run the wires through the old light bulb holes. You will be removing all the large light bulbs except 1 I believe, and the wires should just go right through the holes. (Note: Some of the leads on the new gauges, I had to bend them, and when I did that I broke one of the leads for the gas gauge, so I had to rip it apart and re solder it, so try to avoid bending as much as possible)
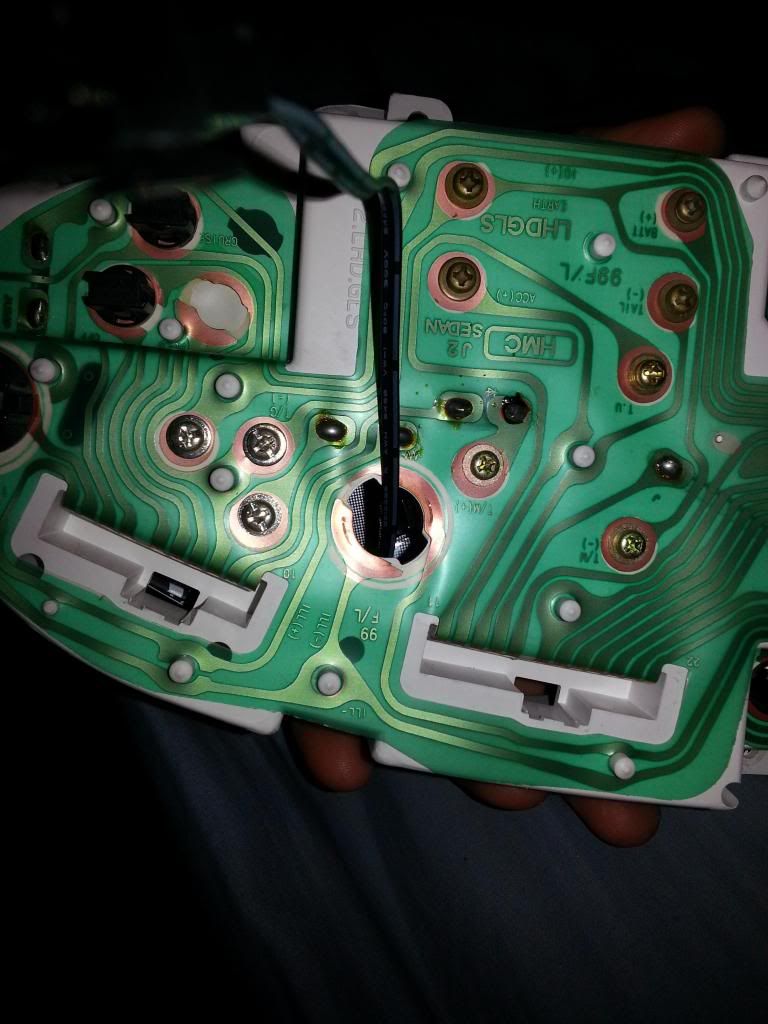
7. Gauges installed! You need to put the faceplate back on, and it will hold them down fairly well (Note: If they will not stay, you may need to use some 3M double sided tape, or some melted wax, or light glue, something removable in case you want the old look back for some odd reason, I didn't have to use anything)
8. Next put it all back together, and bring the cluster with you to the car, next step is wiring!!!
Wiring:
This part is a little hard, just because it's a little tight to get your hands into with a knife, or a fancy wire stripper
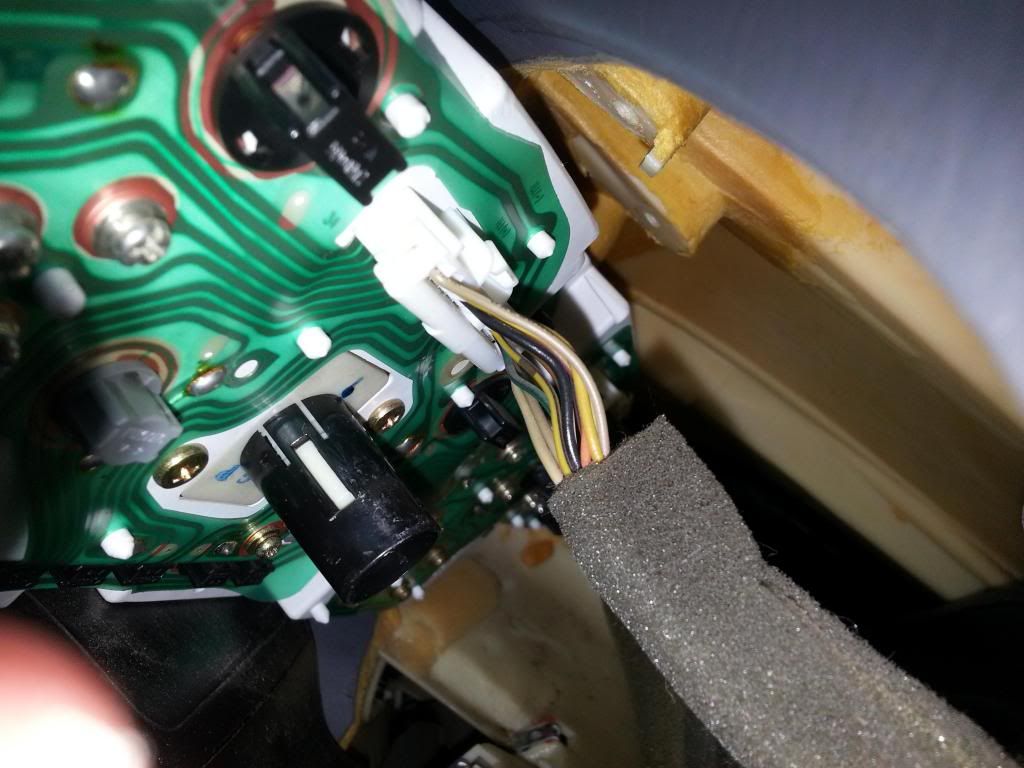
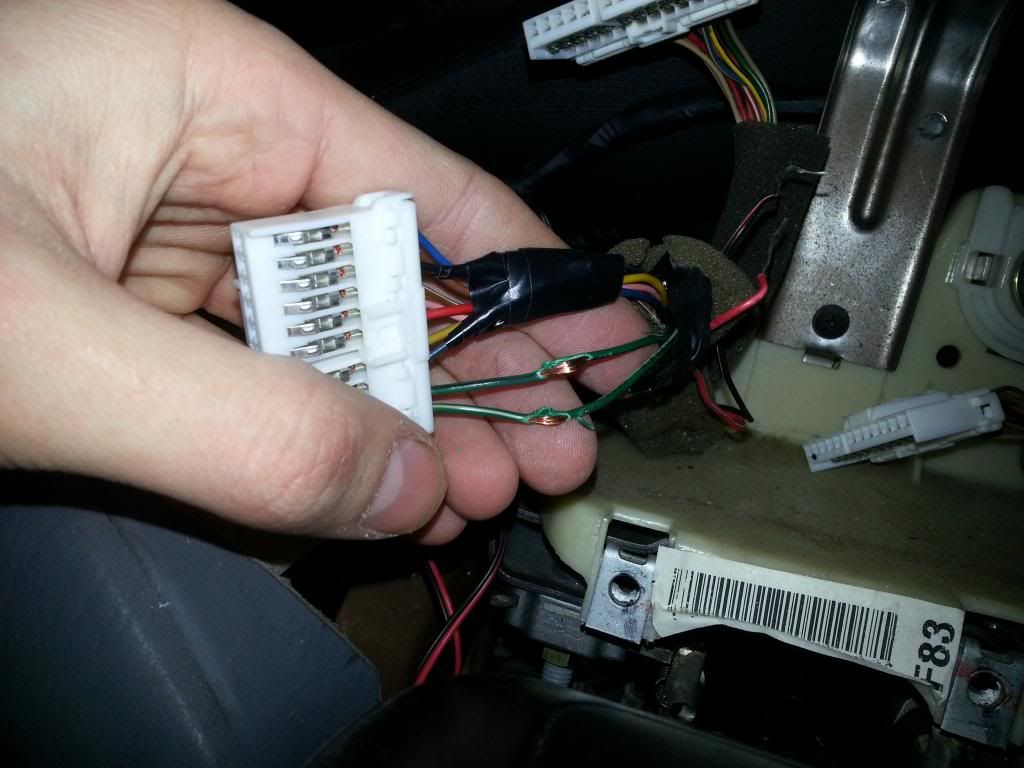
1. Ok so you need to decide how you want the gauges to light up. You can have them a, light up when the car starts. Or b, light up with the parking light, or head lights are on, which is what I chose. We'll be working on the wiring harness furthest to the drivers door. (The one with all the extra wires in the following pic)
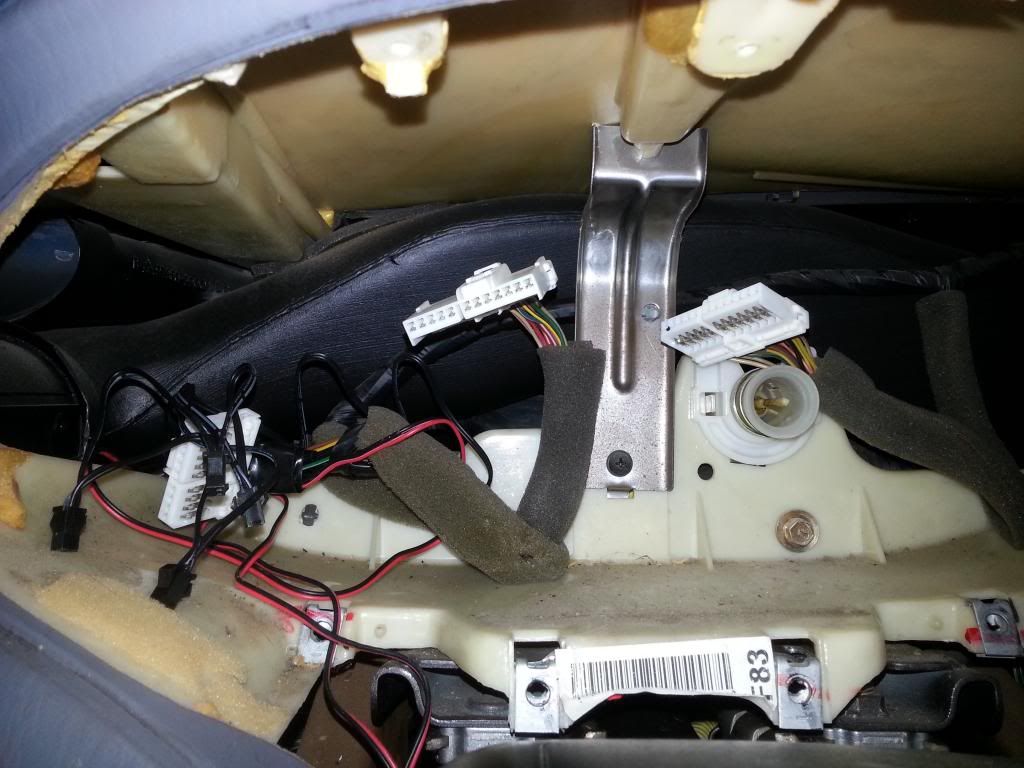
You'll also need to peel back some of the foam protective barrier, and electrical tape to access the wires, then:
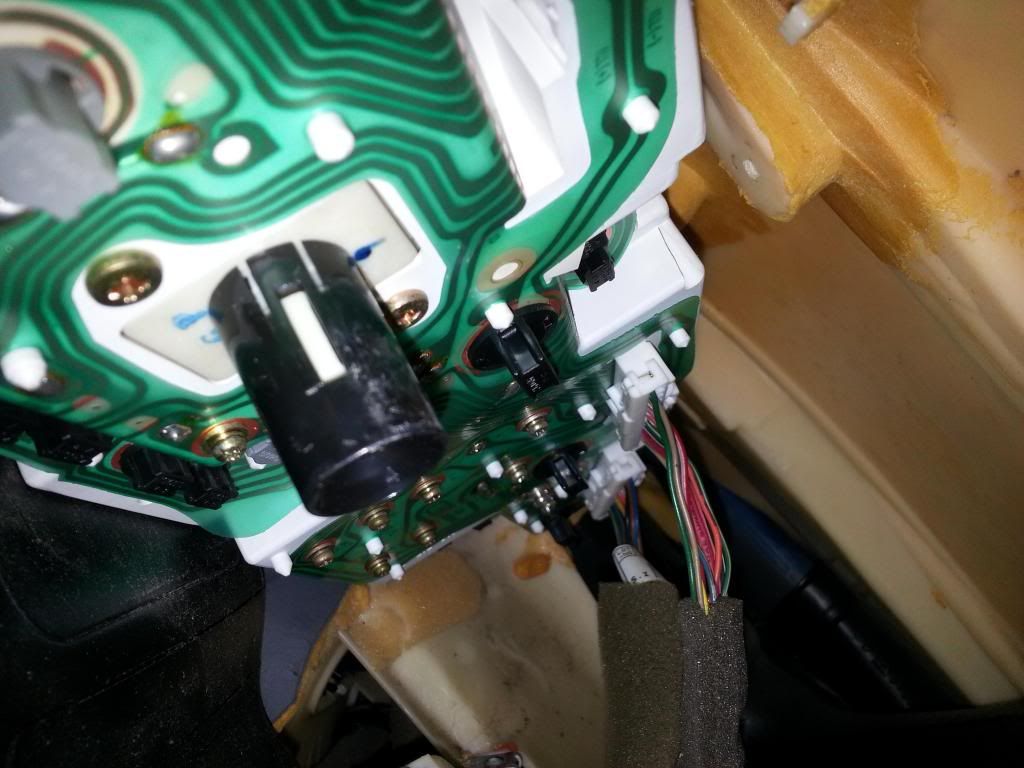
A: For them to light up all the time, you need to splice into these two wires:
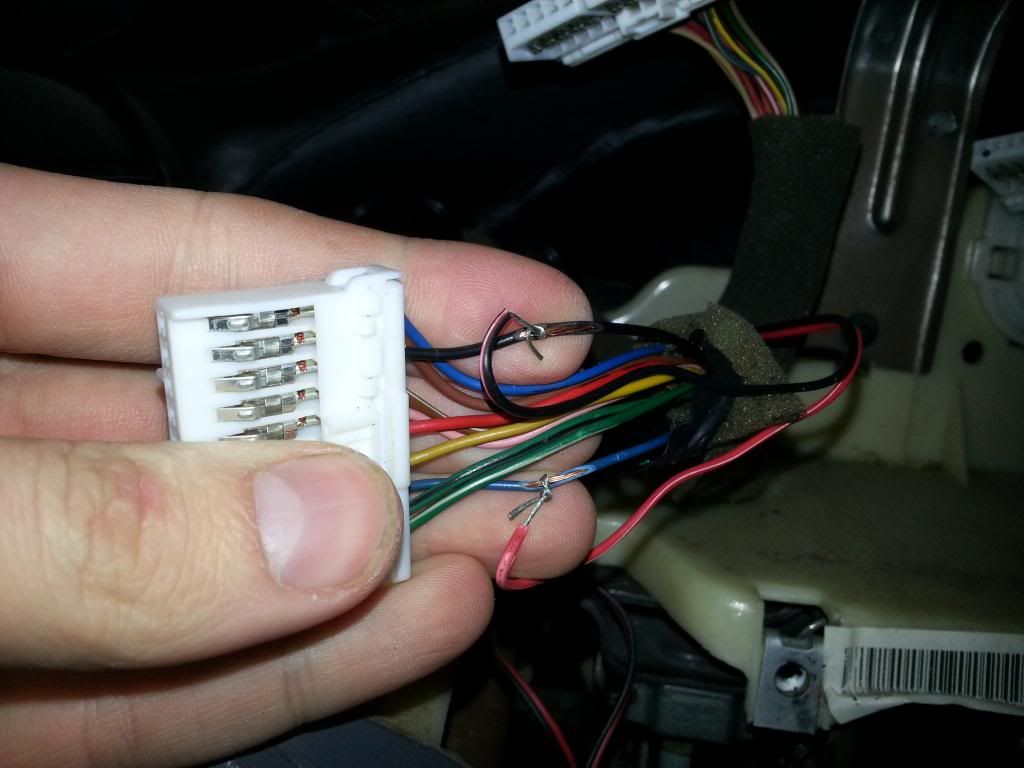
B: For them to light up when the lights are on, you need to splice into these two:
Next you need to put it all back into the car to test the lights, you can't just plug the wires into the relay that comes with it, it doesn't work like that for some reason.
Put it all back together and you're done!
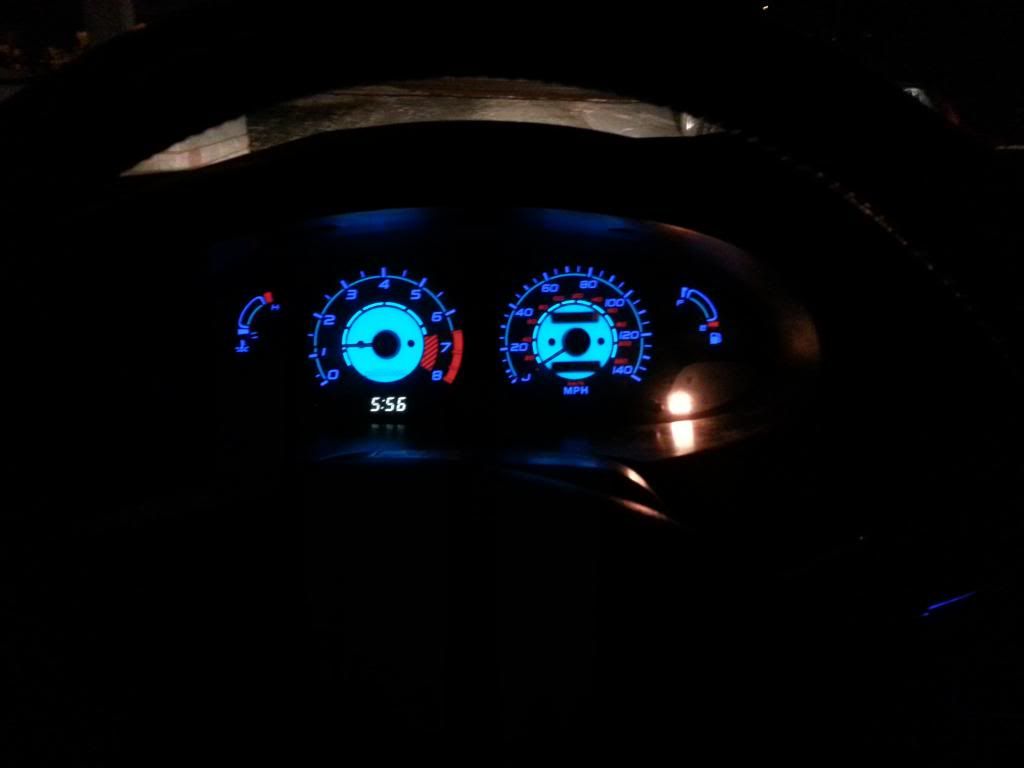
Day Time:
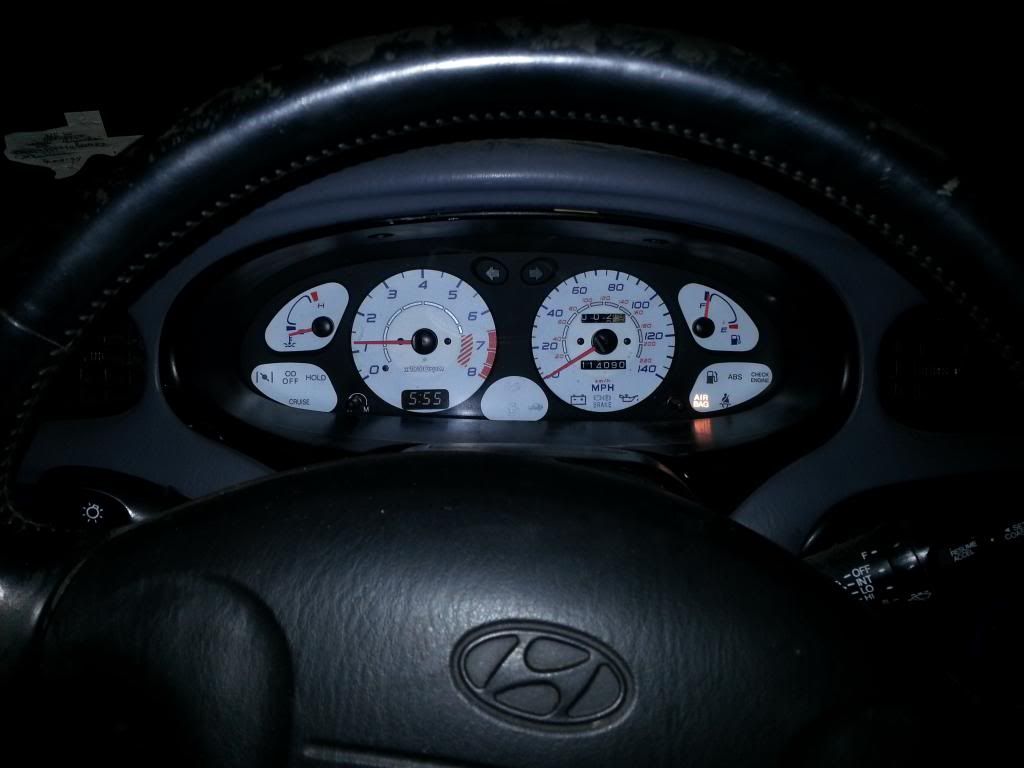
Night Time: