


Tools required:
Lug wrench
Jack
Jack Stands
Ratchet, 3/8" will work with muscles
Sockets needed: 12mm, 14mm, 17mm
Supplies needed:
Brake cleaner
Brake lube
Anti-sieze
Parts:
2003-2008 Tiburon GT Calipers (L&R)
2003-2008 Tiburon Frt Brake Pads (Non-SE)
2004 Sonata Rotors
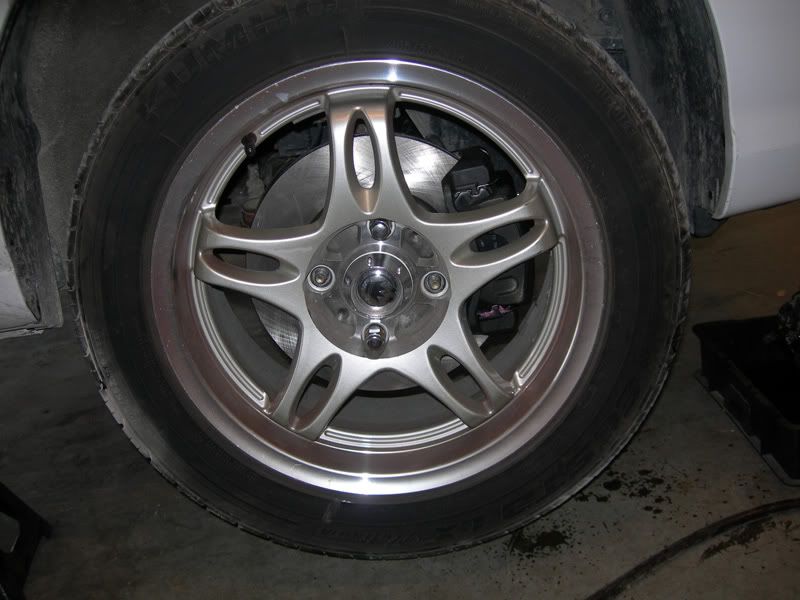
Here's the before picture with wheel installed for reference:
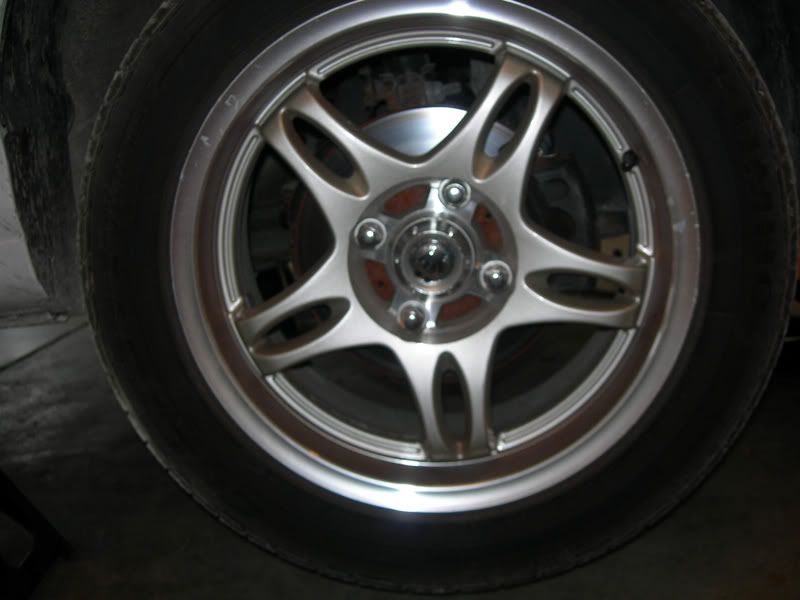
So, jack vehicle, remove wheel. If I need to tell you how to do that, please STOP here, and take vehicle to nearest shop.
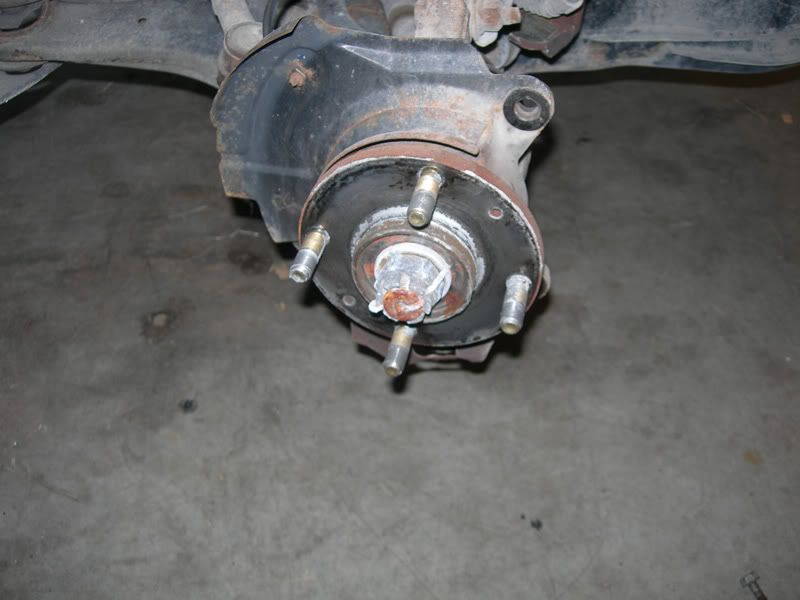
With the wheel removed you should see this:
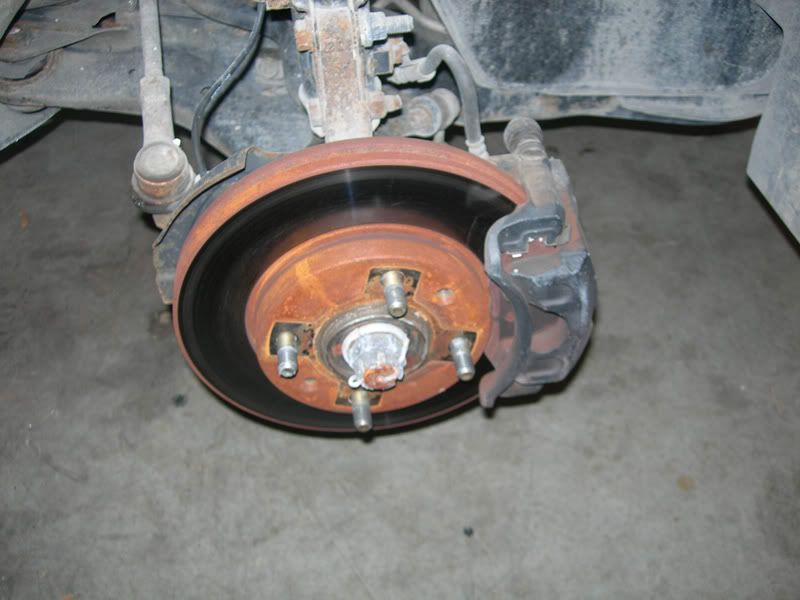
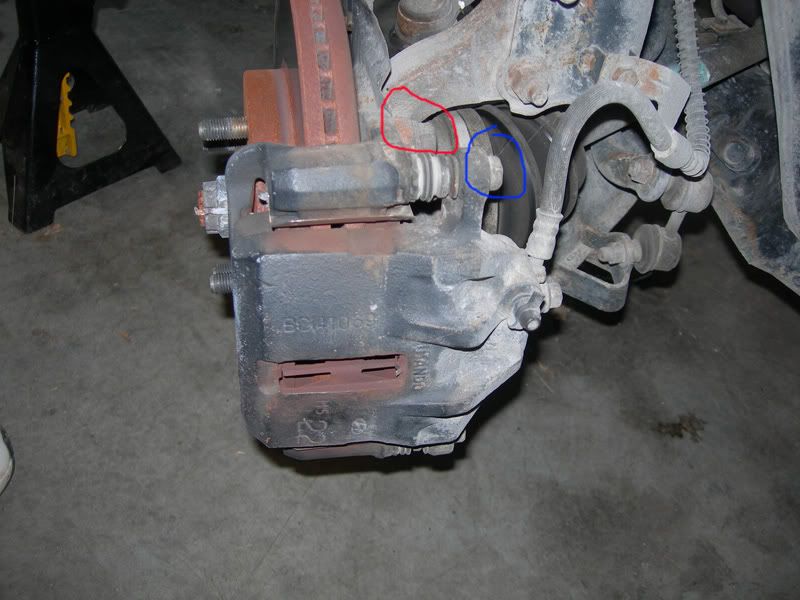
Use your 14mm socket to remove the two bolts circled in blue. Once those are removed the caliper should come loose, and you can set it off to the side for now. You shuold be left with the bracket that is held on by 2 17mm bolts circled in red in the previous picture. Before you remove the 17mm bolts you should see this:
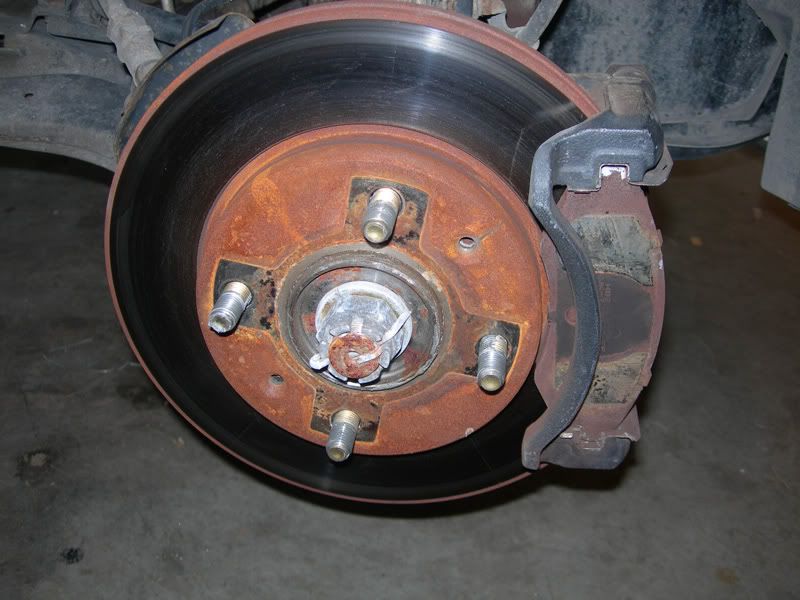
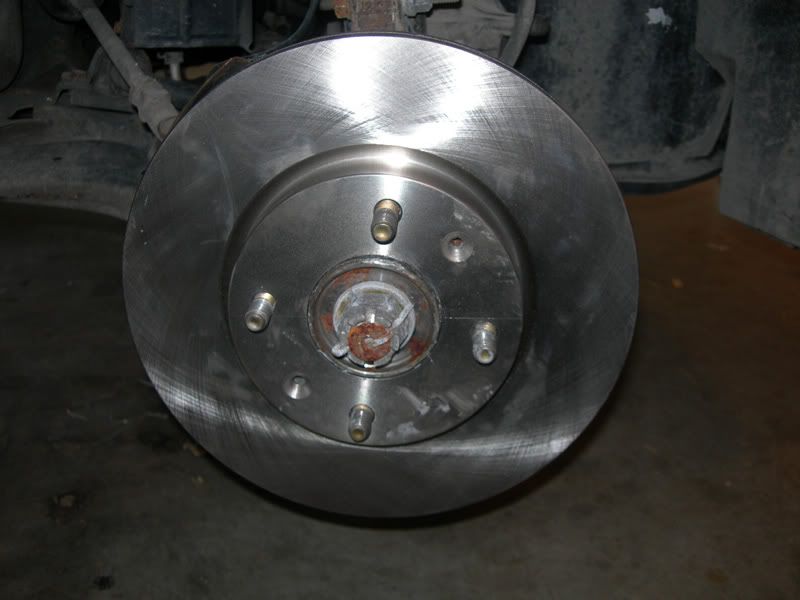
Once you remove the bracket, you should have only the rotor left on there like this:

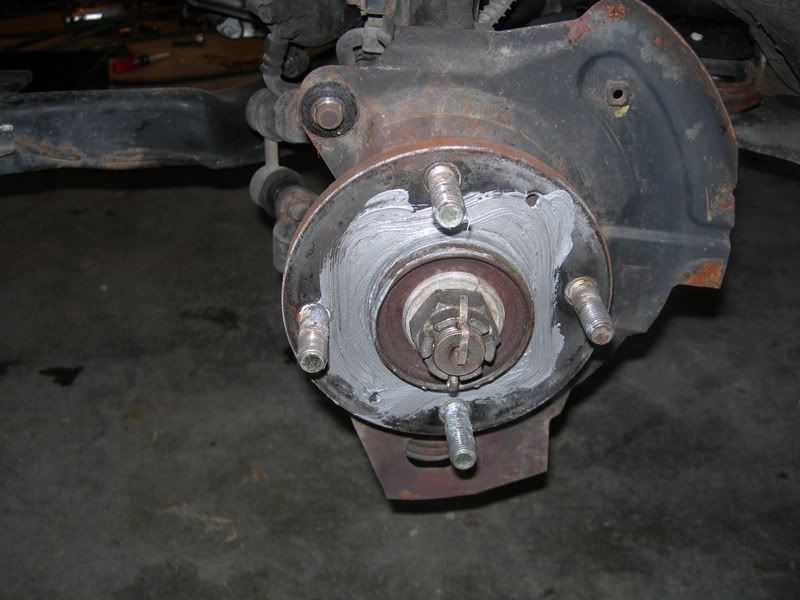
If you've had your brakes off and anti-siezed previously, it should slide off easily. If not, this is where prolific use of four letter words may make you feel better, but will not in fact help rmove the stibborn rotors. Once off the hub should be bare like this:
Now is a really good time to break out that tub of antisieze and use it on the hub face to make future brake removal much easier. Somethign like this has worked well for me for years:
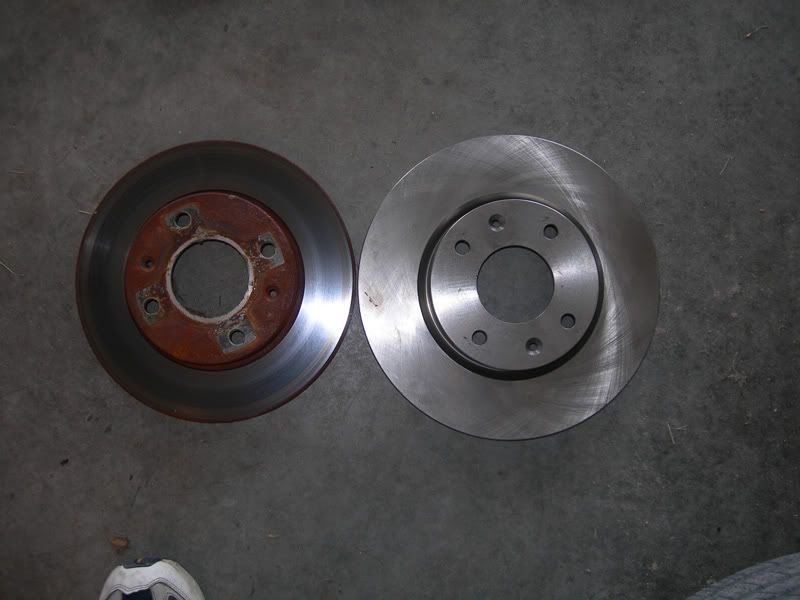
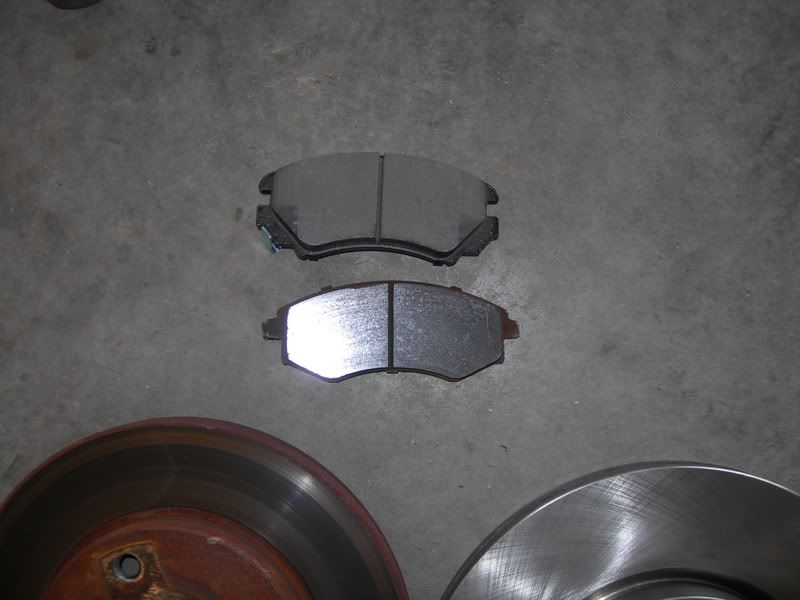
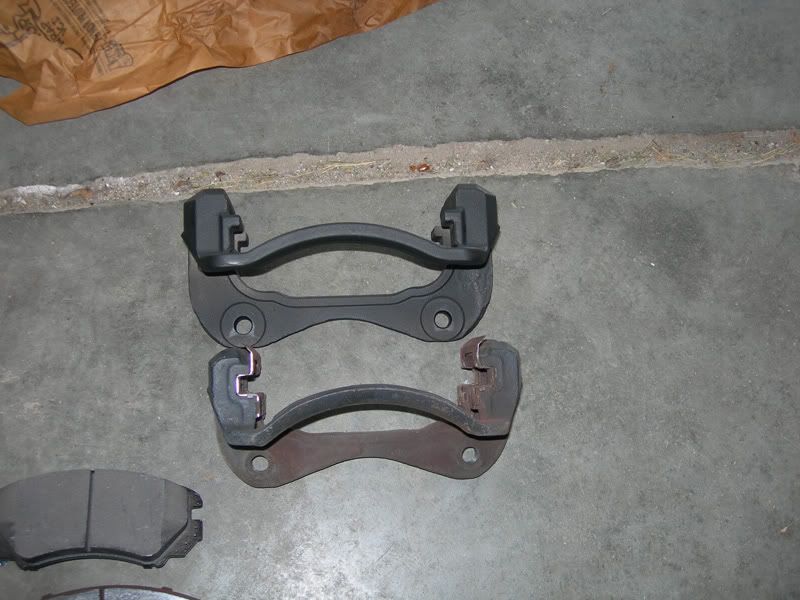
Now, here's teh rotor, pads and caliper bracket side by side for comparison. The rotor is obviously an inch larger in diameter, but also notice the pads are thicker, and a little bit wider than the stock pads. THis gives more surface area for bite and the larger rotor should be able to dissapate heat a little better than the stock 10" rotors.
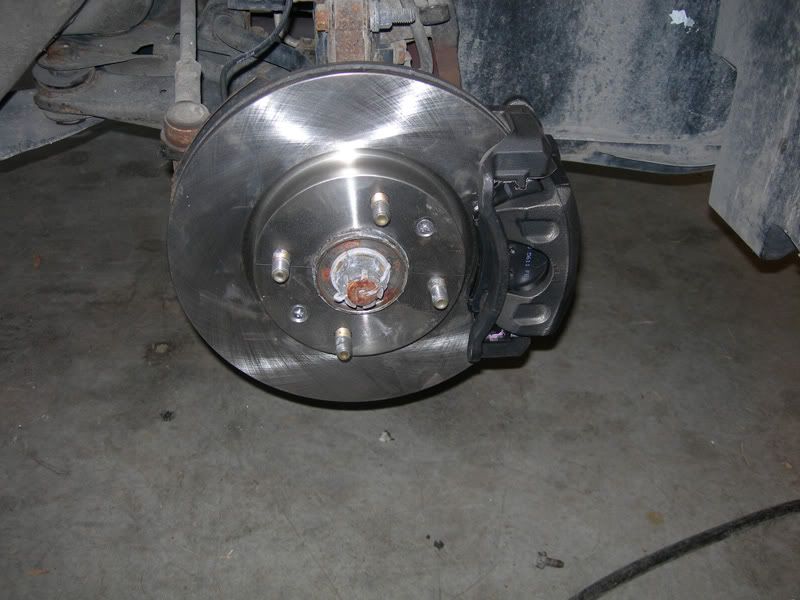
Reinstall is the reverse of removal. Slide the rotor onto the hub (after cleaning of all residue from packing):
Then slide the new bracket onto the rotor and bolt to the spindle with your previous 17mm bolts. Applying a dab of antisieze will again help removal in the future:

Slide the new clips into place, apply your lube and install the pads (squealer pad to the rear):
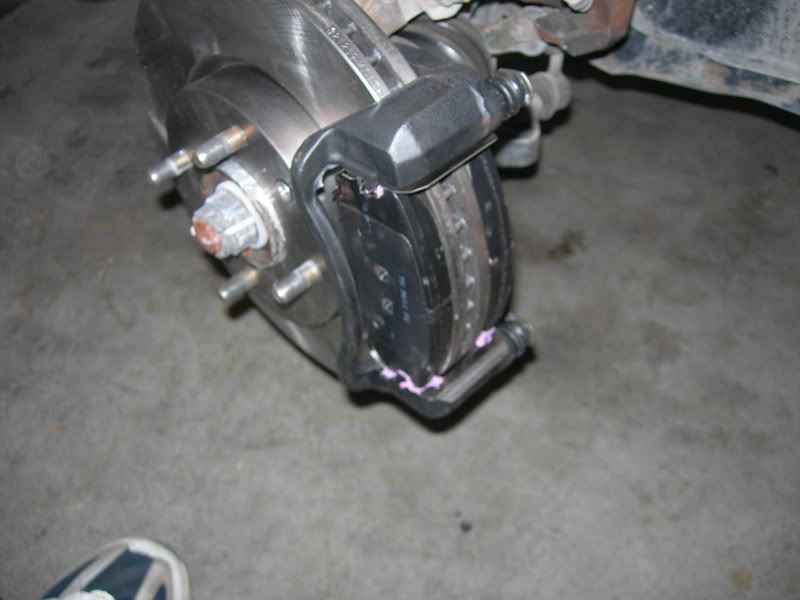
Then slip the new caliper onto the pads and bracket and reinstall the 14mm bolts to hold it into place:
Make sure everything is tight. Now bring back over your old caliper, still attached to the brake line, and using your 12mm socket break the line loose from the caliper and install onto the new caliper. REpeat the procedure for the other side. Once both sides are complete, do a complete brake bleed starting right rear first, left rear, right front and left front. Enjoy.
Finished product with wheel installed should look like this:

Old one for comparo:


