


XD Headlight Replacement
by bhorste
This is something that nearly every owner will have to deal with at one time or another, and is reasonably easy to take care of. As long as you are careful when loosening/tightening bolts and handling bulbs, this shouldn't take you any more than about 10 minutes.
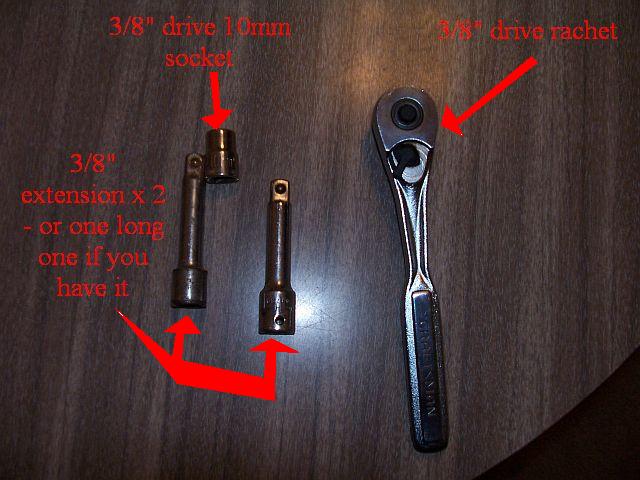
You will need:
Replacement bulbs (see the handy thread in the Maintenance Zone for which sizes are appropriate)
1 3/8" drive rachet
1 3/8" drive 10mm socket
Either 2 standard 3/8" drive extensions or one long one
The procedure:
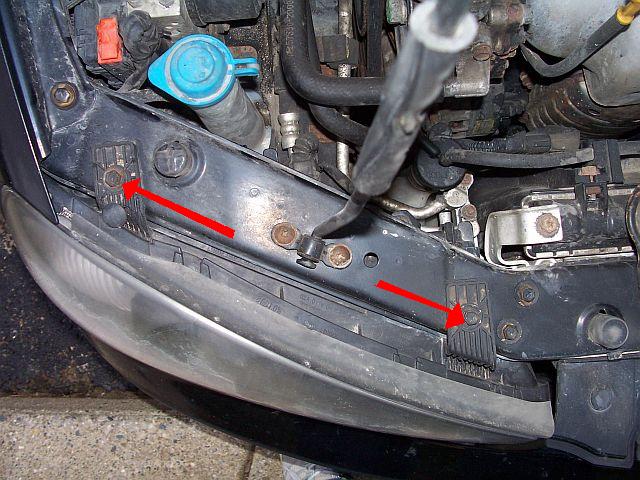
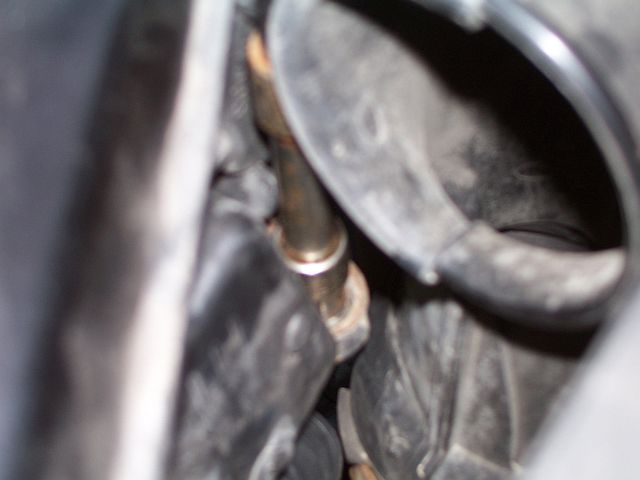
Step 1: Remove the 3 bolts holding the assembly in (first two pics are driver's side [US] and the last two are passenger's side [US] ).
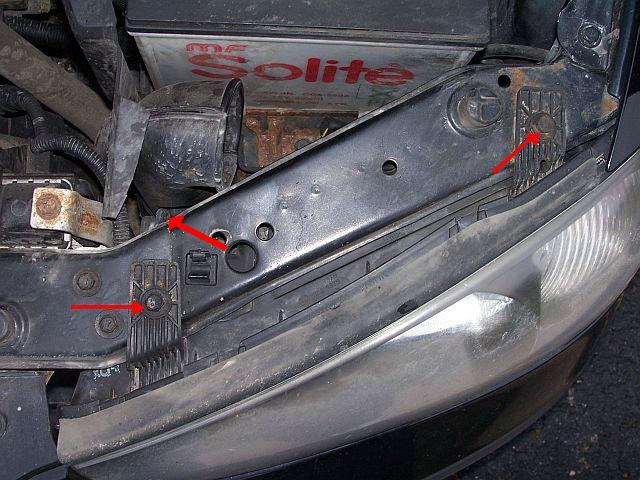
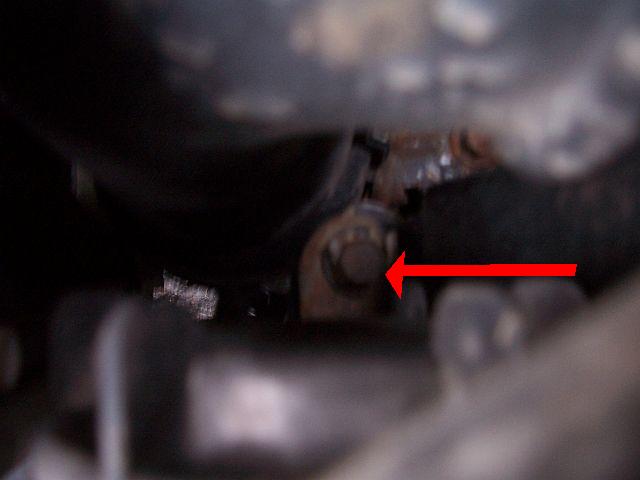
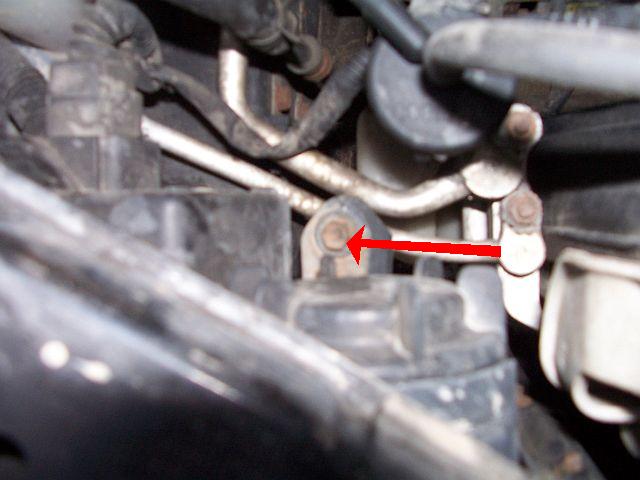
You will need the extension to get at the bottom bolt (see below).
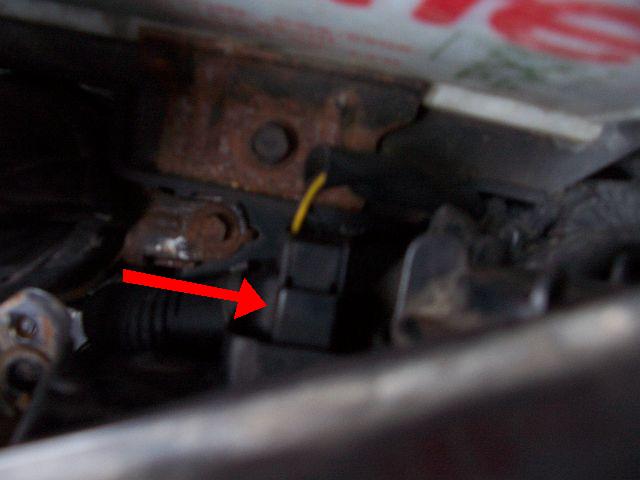
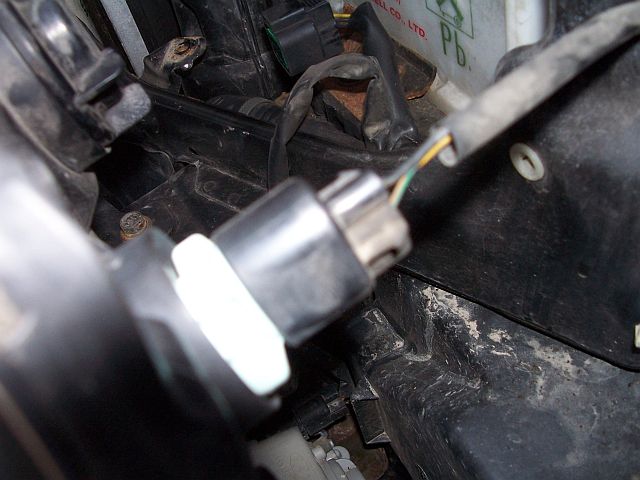
Step 2: Disconnect the electrical connections. There are 2 connectors, both of which have a tab which you push in to remove them. BE SURE TO DISCONNECT BOTH BEFORE YOU COMPLETELY REMOVE THE ASSEMBLY! See pics below.
Step 3: Remove the headlight assembly from the car. You will want to extract the fender side first, and then pull it straight out.
Step 4: Remove the appropriate bulb. These will be found as shown below.
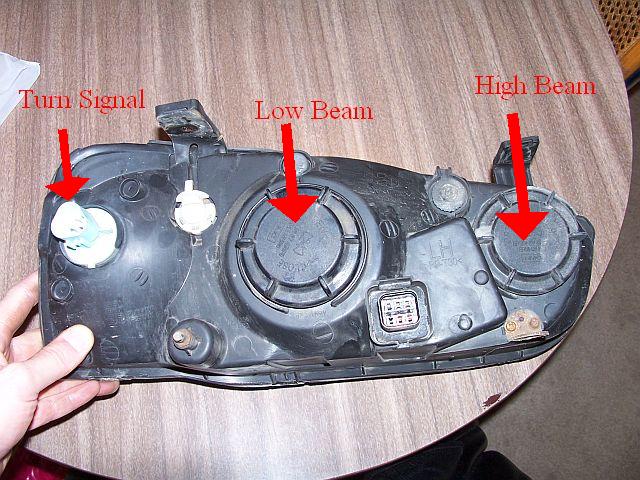
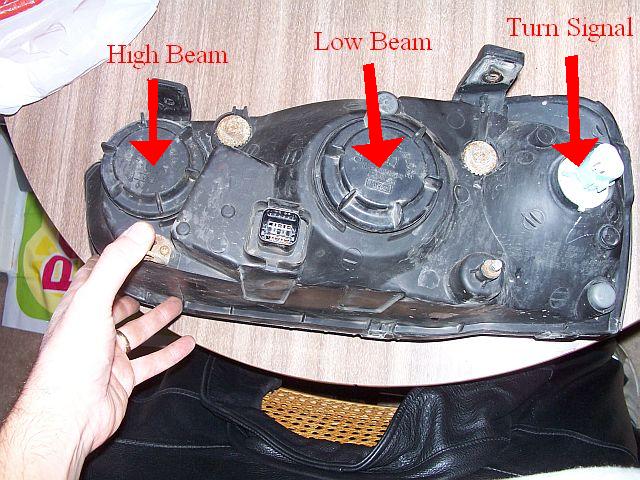
For the turn signals, turn the connector counter-clockwise and remove it. Then remove the bulb from the connector and replace it in the assembly. For the headlights, remove the appropriate cover by turning it counter-clockwise.
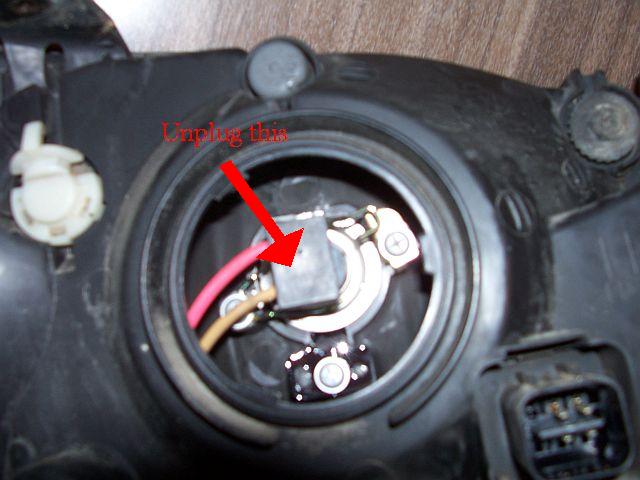
Then unplug the connector from the bulb and release the spring clip holding the bulb in place.
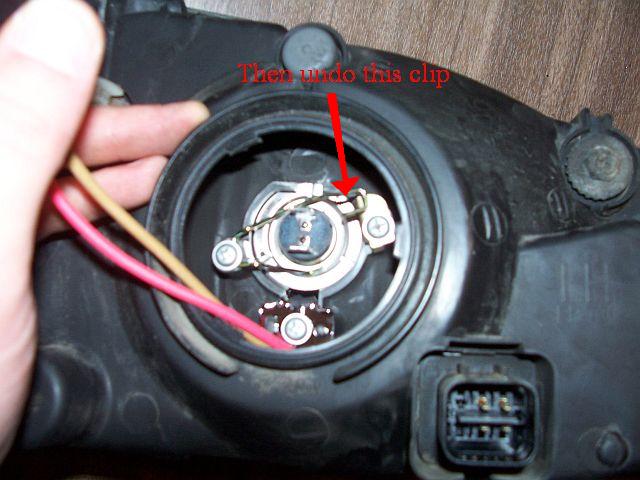
The bulb can then be lifted out.
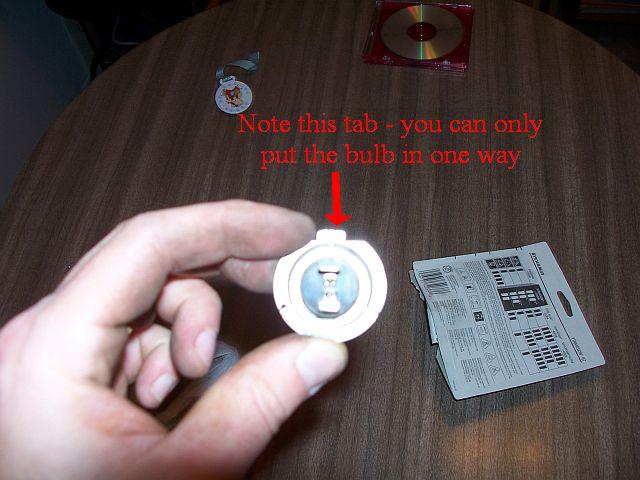
Step 5: Put the new bulb in. Be sure not to touch the glass part of the bulb with bare skin, as the oils from your skin can cause hot spots and premature bulb failure. Note that there is a tab and a flat spot on the base of the bulb. It will only go in one way.
Replace the spring clip and plug the connector onto the back of the bulb. Then replace the cover. You are now ready to re-install the assembly.
Step 6: Slide the headlight assembly back into place, grill side first and then straight back in. Replace the electrical connectors, making sure they "click" back into place. Line up the mounting holes on the assembly and the body, and replace and tighten the bolts. Be careful not to cross-thread or strip the inserts that the bolts tighten through. They don't need to be He-Man tight, just snug.
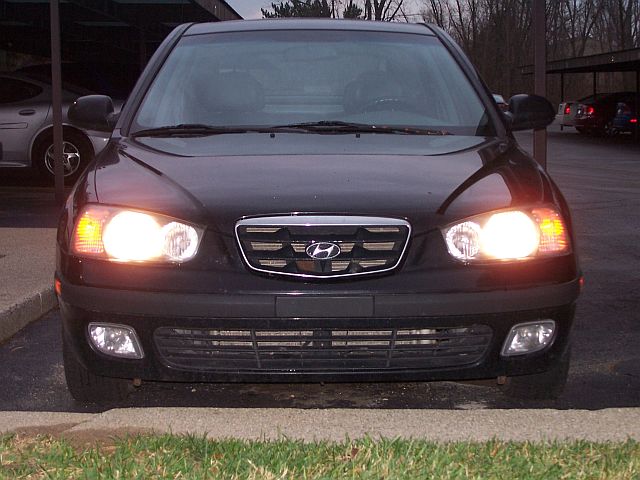
Step 7: Stand back and admire your handywork.
Important Note: To replace the small "running lights" next to the low beams, you just need to pull them out with needle nose pliers. This requires a lot of force; don't be bashful.


